Your cart is currently empty!
Lesson Five: Lighting Inside

Welcome to your fifth lesson in this course! I’m so proud you’ve made it this far! Congratulations!
These next two lessons will be about one of my favorite topics: lighting.
Today we will focus on lighting indoors.
One thing that I absolutely love with indoor photography is the obstacles that come with it due to how different indoor situations can be at all different times of the day. Well, why can’t we make these obstacles fun? Obstacles allow me to use my creativity to get around them, sometimes making the images better than they ever would have been if there hadn’t been a road block or a tricky situation to think through. Lets delve a little more into indoor lighting and how we can make the best of it and flex our creative muscles.
Pay attention to your environment
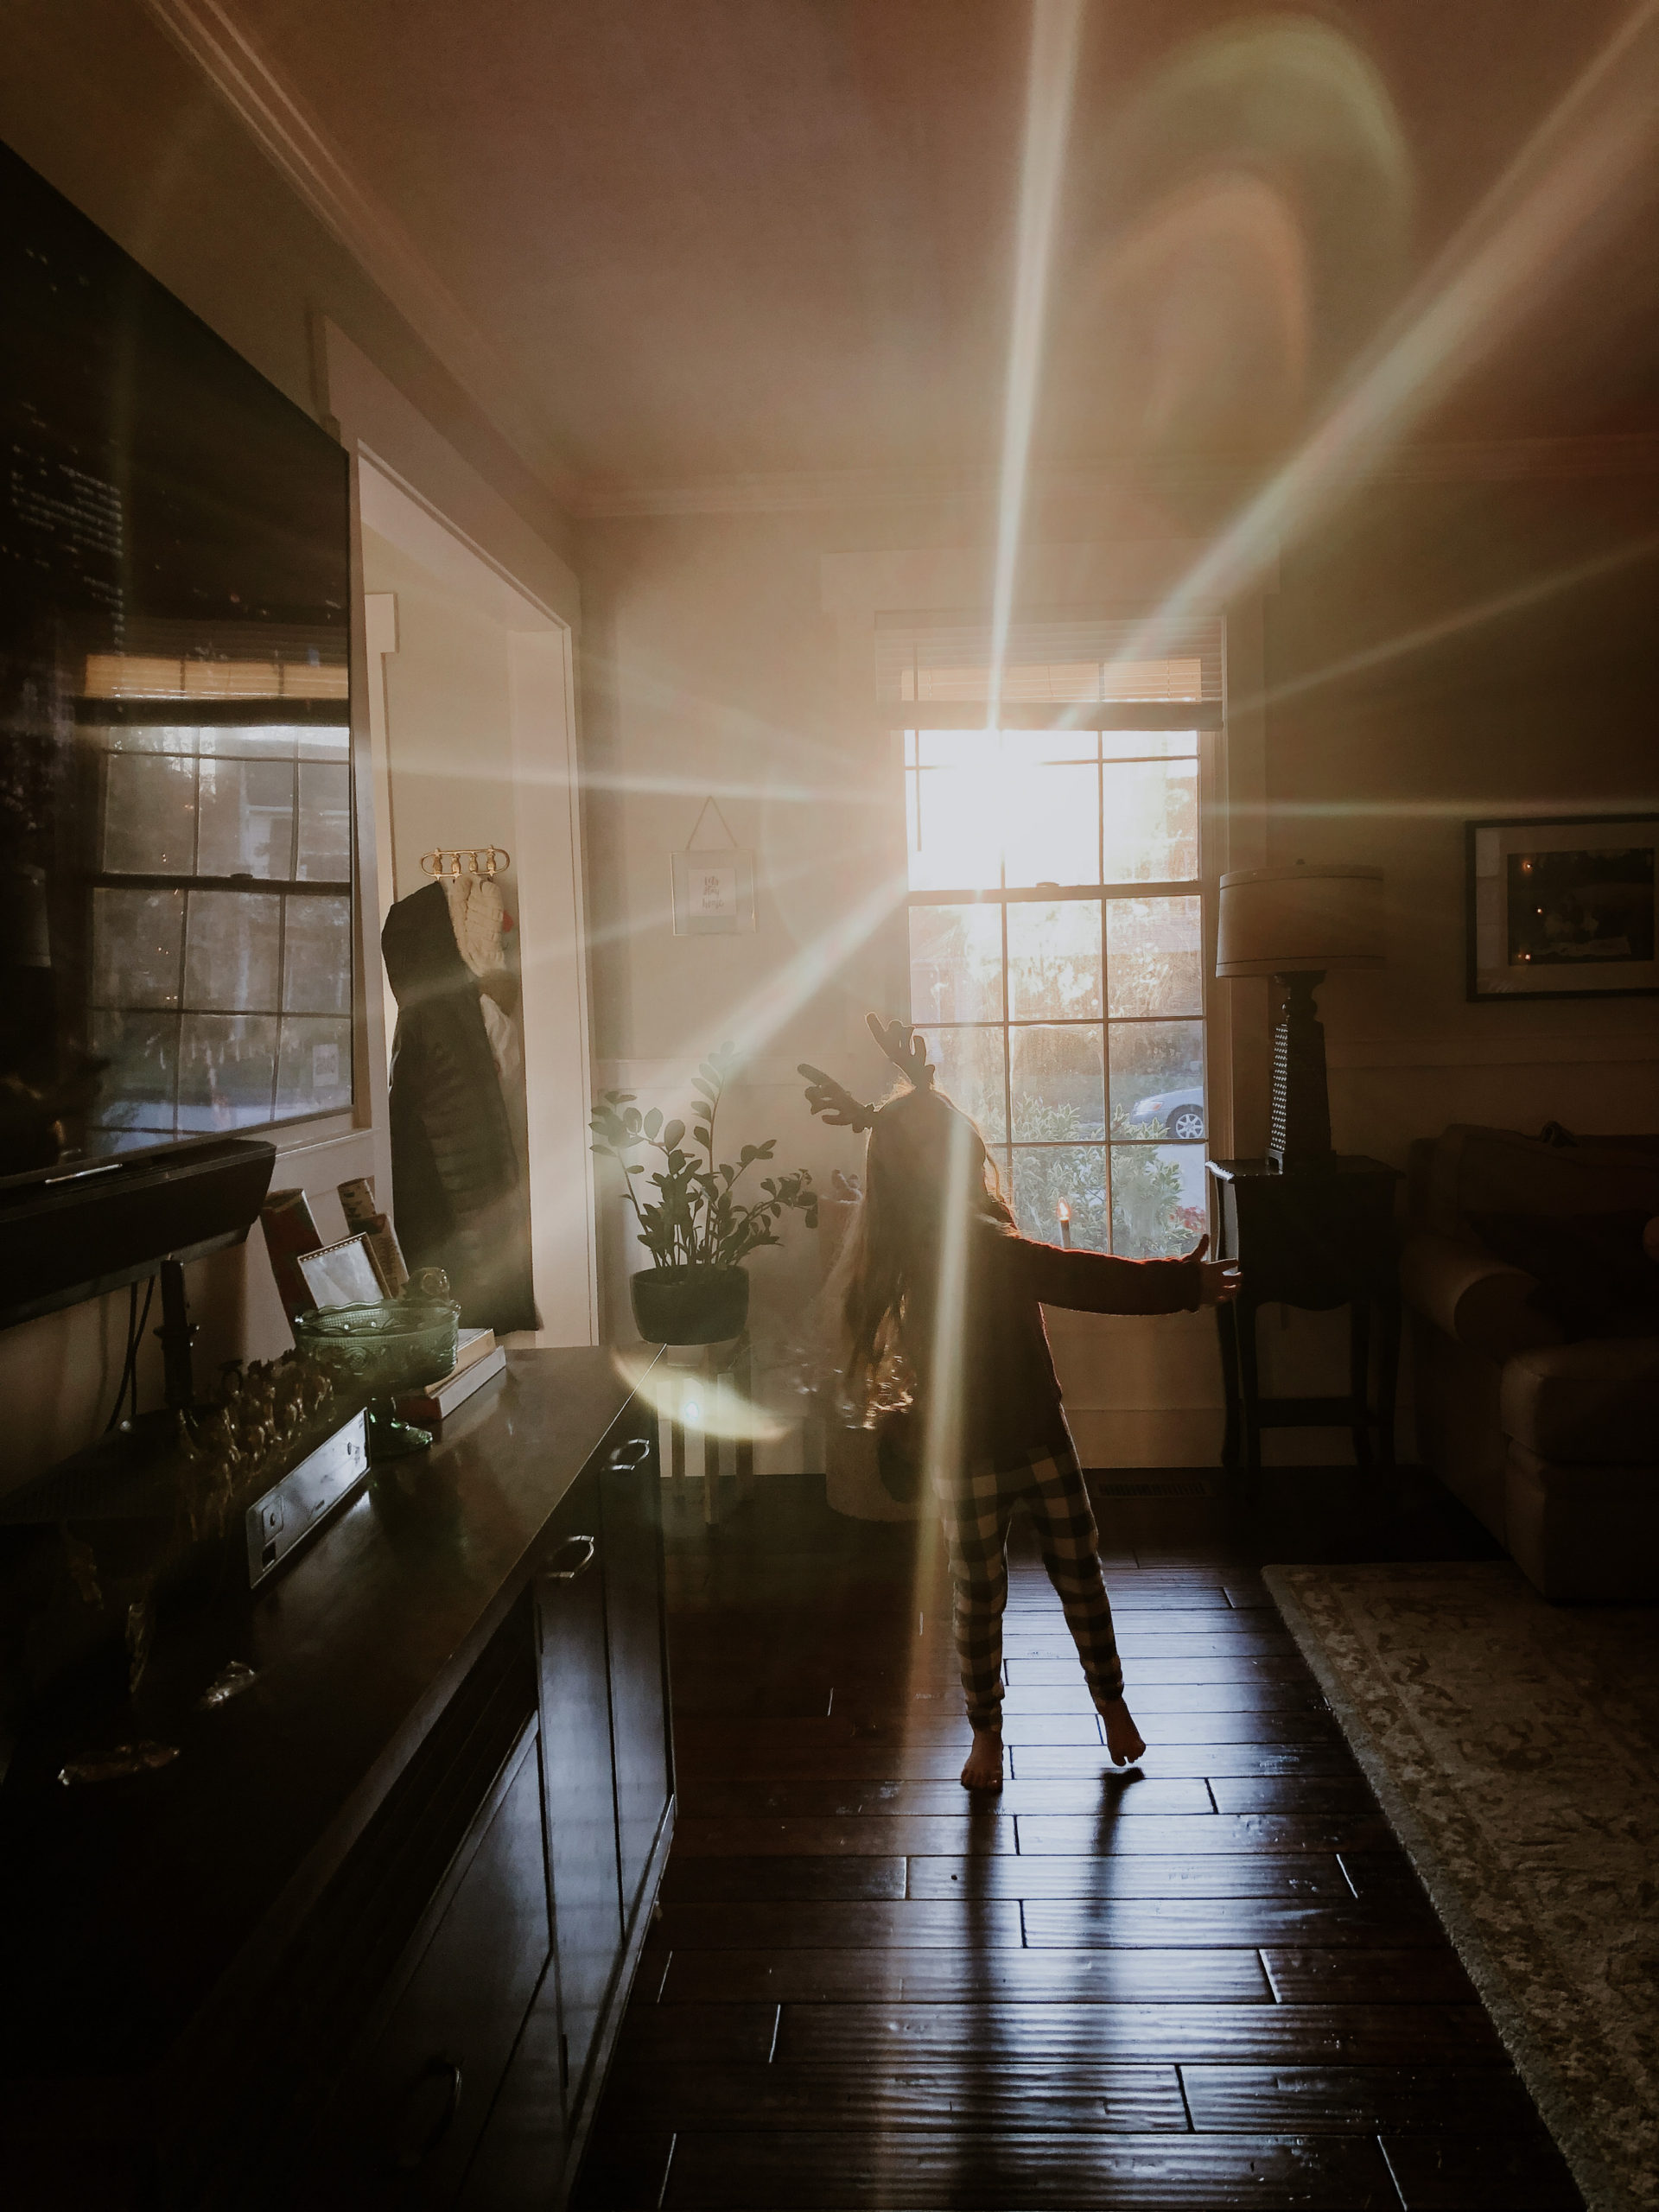
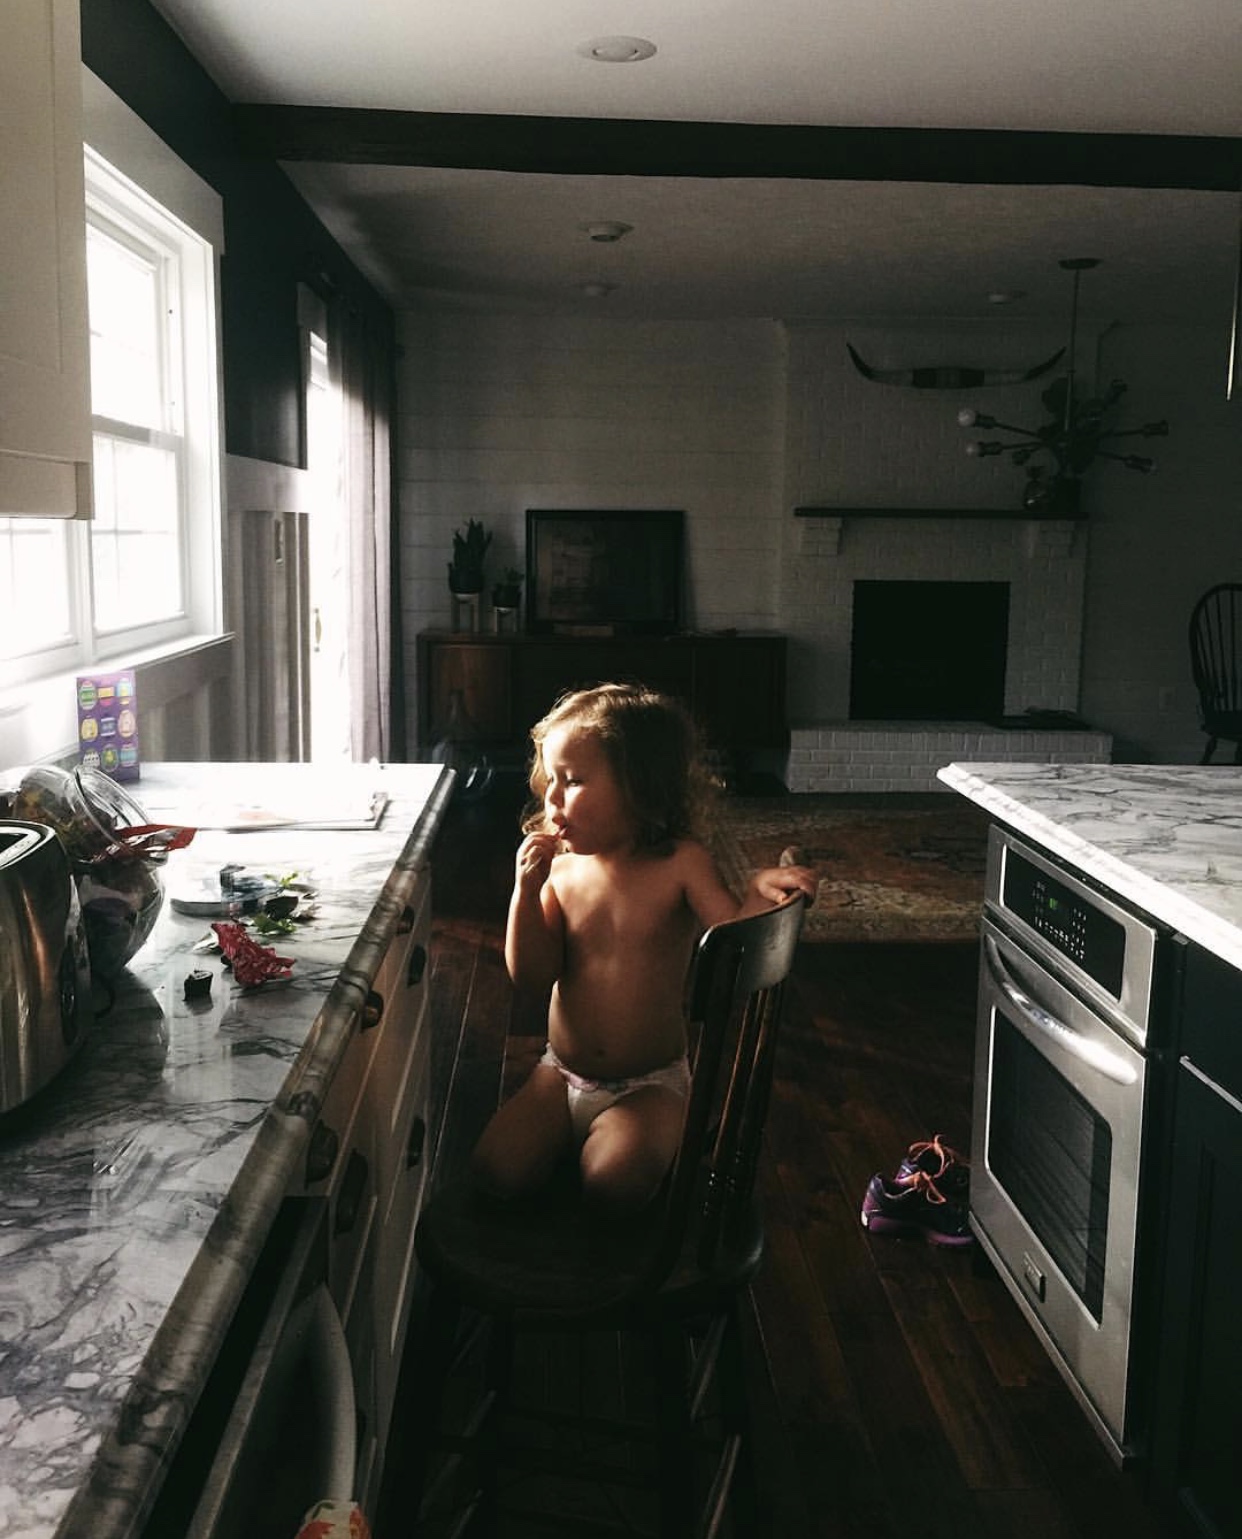
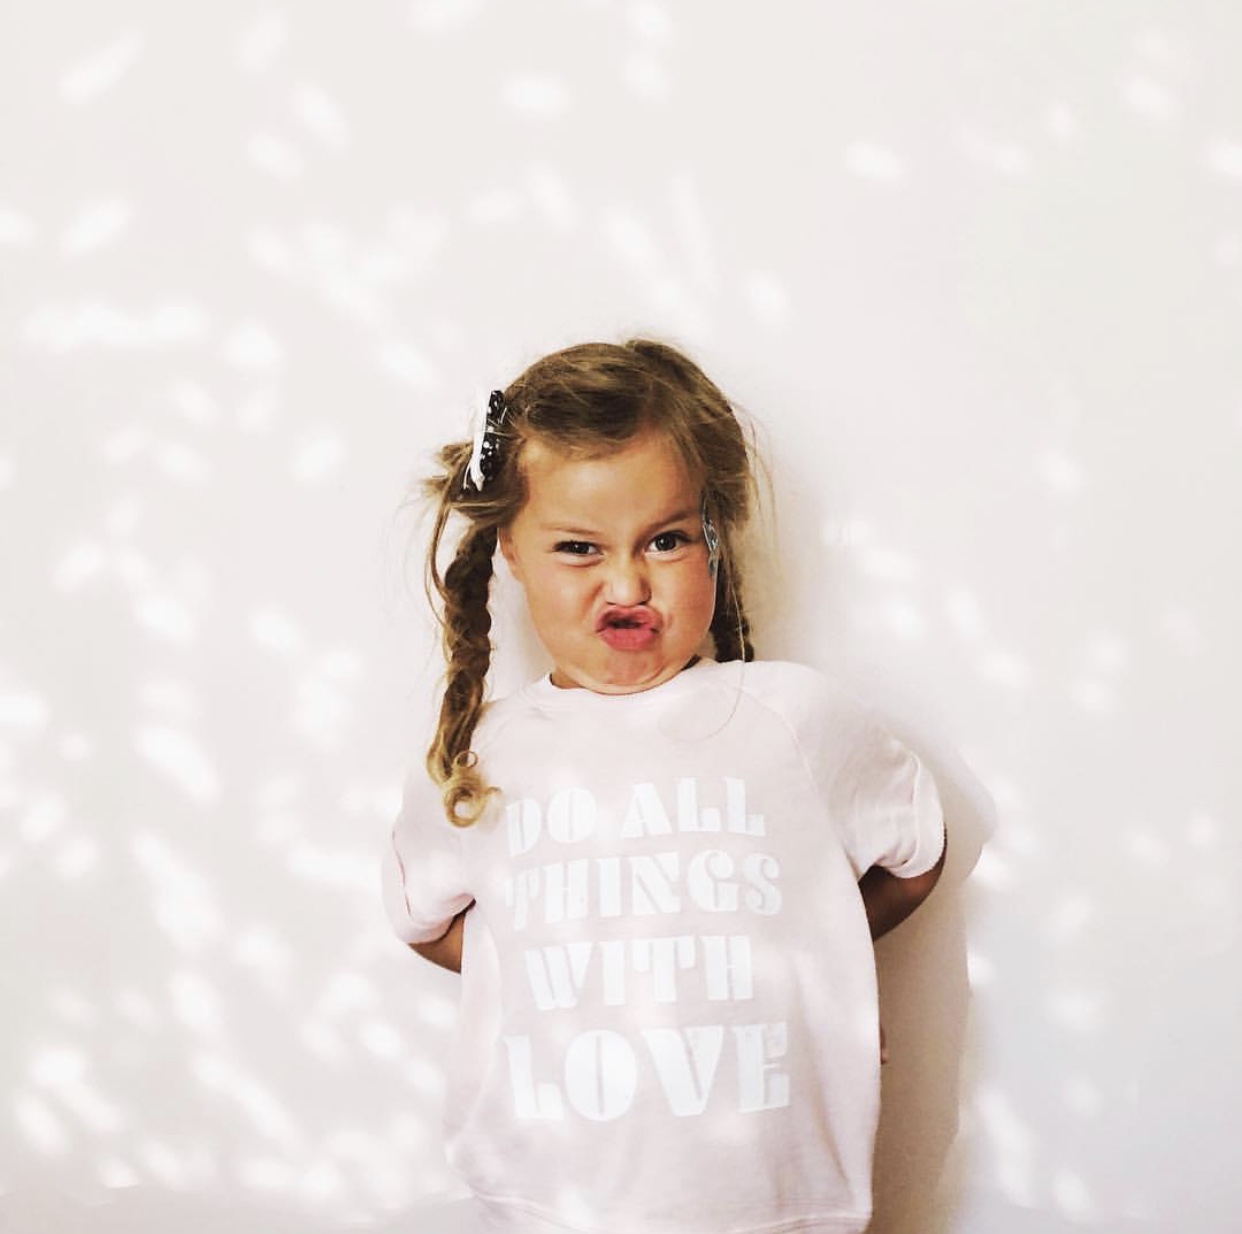
How often do you really pay attention to lighting? Like, consciously notice light in your home. Well, today I want you to start to do that! For the rest of these lessons, be a student of the light in your home and spaces around you. When you start to study light, you’ll naturally begin to notice certain lighting situations and be able to adapt and create to the situation you’re given. The lighting in your home changes all the time! Notice what the lighting looks in the morning, afternoon evening and even night time. What windows have great natural light? What spaces have great shadows? Are there areas of your home that you can use for clean, crisp bright photos? Is there a window that gets great moody evening light? I know for me I have my go to spots that I’ve discovered in my home. I’ve even got it down to what area I like to photograph in in each season in my home. I LOVE to shoot in my bedroom in the winter because the leaves on the trees are down and I get a brighter, whiter, light in there. In the summer, it’s muted and has a tinge of green to it from the leaves. My computer room is my go-to spot for clean shots of my girls. My kids school room is the spot I go for evening window light shots for my dutch master portrait look! Start noticing this week what spaces in your home has interesting light you can work with. Once you notice a great lighting opportunity, call over your kids, your dog, or just pull out your camera and set up your shot. And let me remind you, that you can tell an amazing story without having a person in your photograph. What story will you tell using the unique lighting situation in your space?
Tips for Shooting Indoors
First, start noticing the lighting in your environment.
Like I stated above, finding windows and doors in your home and watch how the lighting changes from them throughout the day.
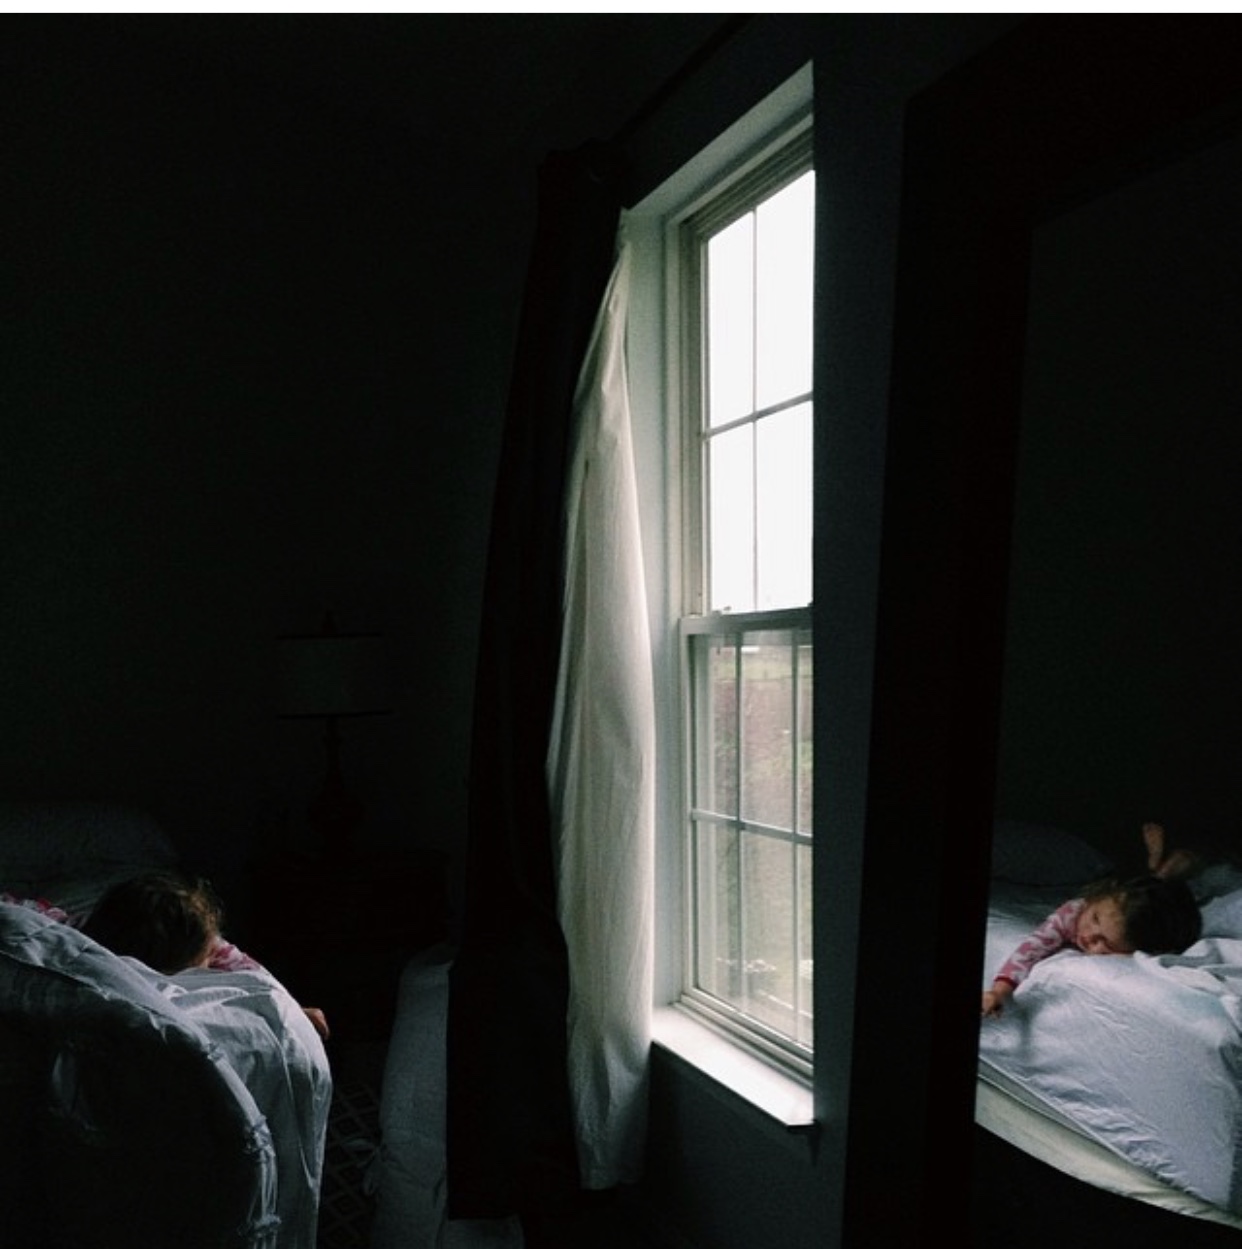
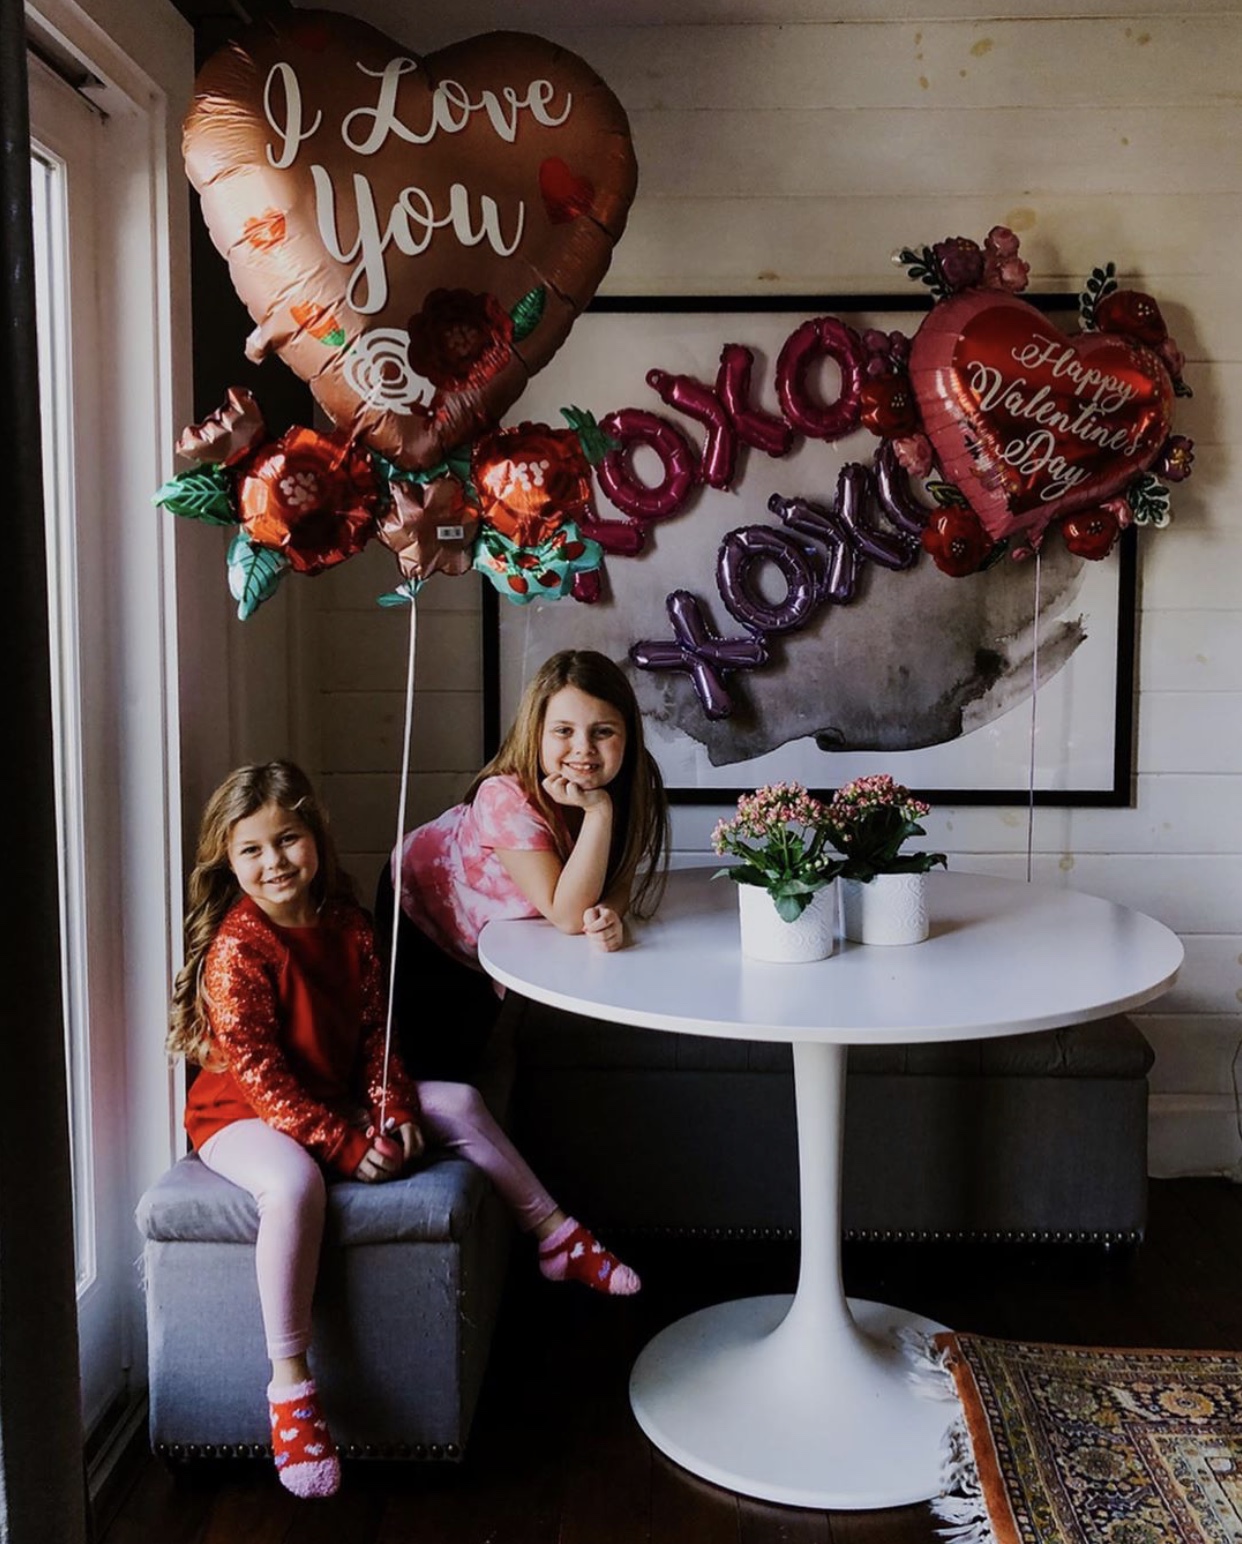
 I took this photo back when we first moved into our new house. This was 5 years ago and the caption read “having fun discovering all the new wonderful light in our new home”. You can do the same thing today in your house today!
Second, turn off artificial light if it’s not an artistic choice.
Ninety nine percent of the time it needs to be turned off. When I do lifestyle shoots in clients homes, I first walk around and turn all the lights off and they are usually surprised by that. Turn off the lights and discover and use the natural light that works in the space. Overhead lighting is usually very unflattering, and the color of natural and artificial light don’t mix well. (PRO TIP: Many photographers use black and white edits on their photos that have artificial light or mixed artificial and natural light images. It cancels out that wonky coloring and usually really makes the subject pop really nice!

Third, control your natural light if you need to.
Let in as much light as possible or if its too much, diffuse with sheer or heavy curtains, or whatever you have around you! I’ve even created streams of light with a heavy blanket. Do whatcha gotta do to get the look you want! You can also control your light by choosing what time of day you choose to use it! I shoot really late into the evening when going for a Rembrandt style of natural lighting.
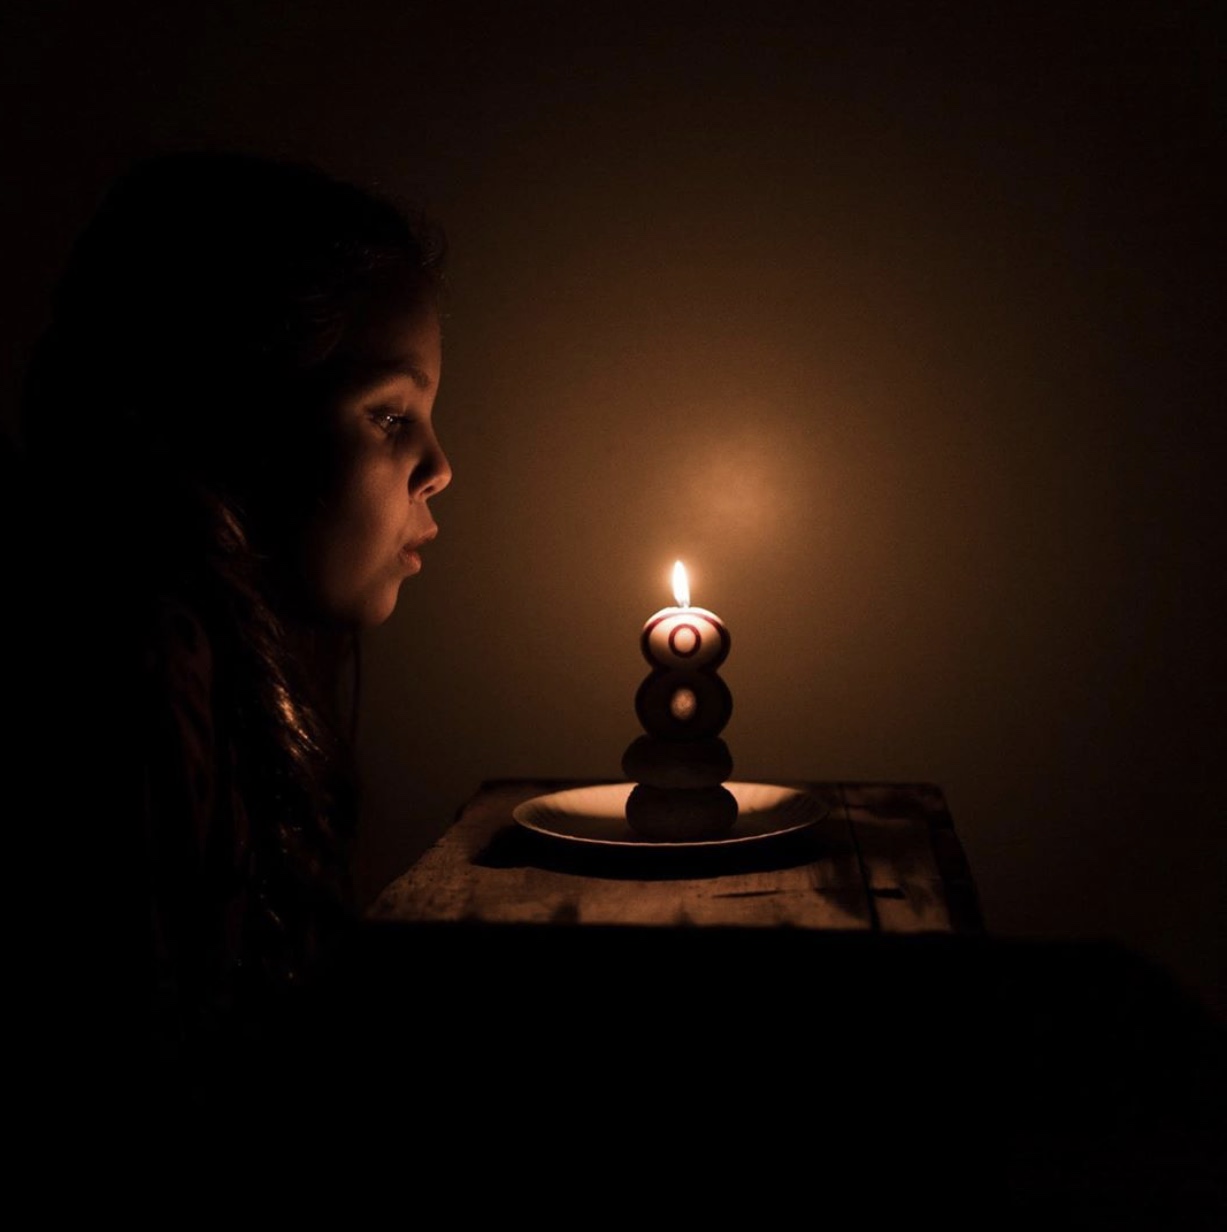
Fourth, create your own light.
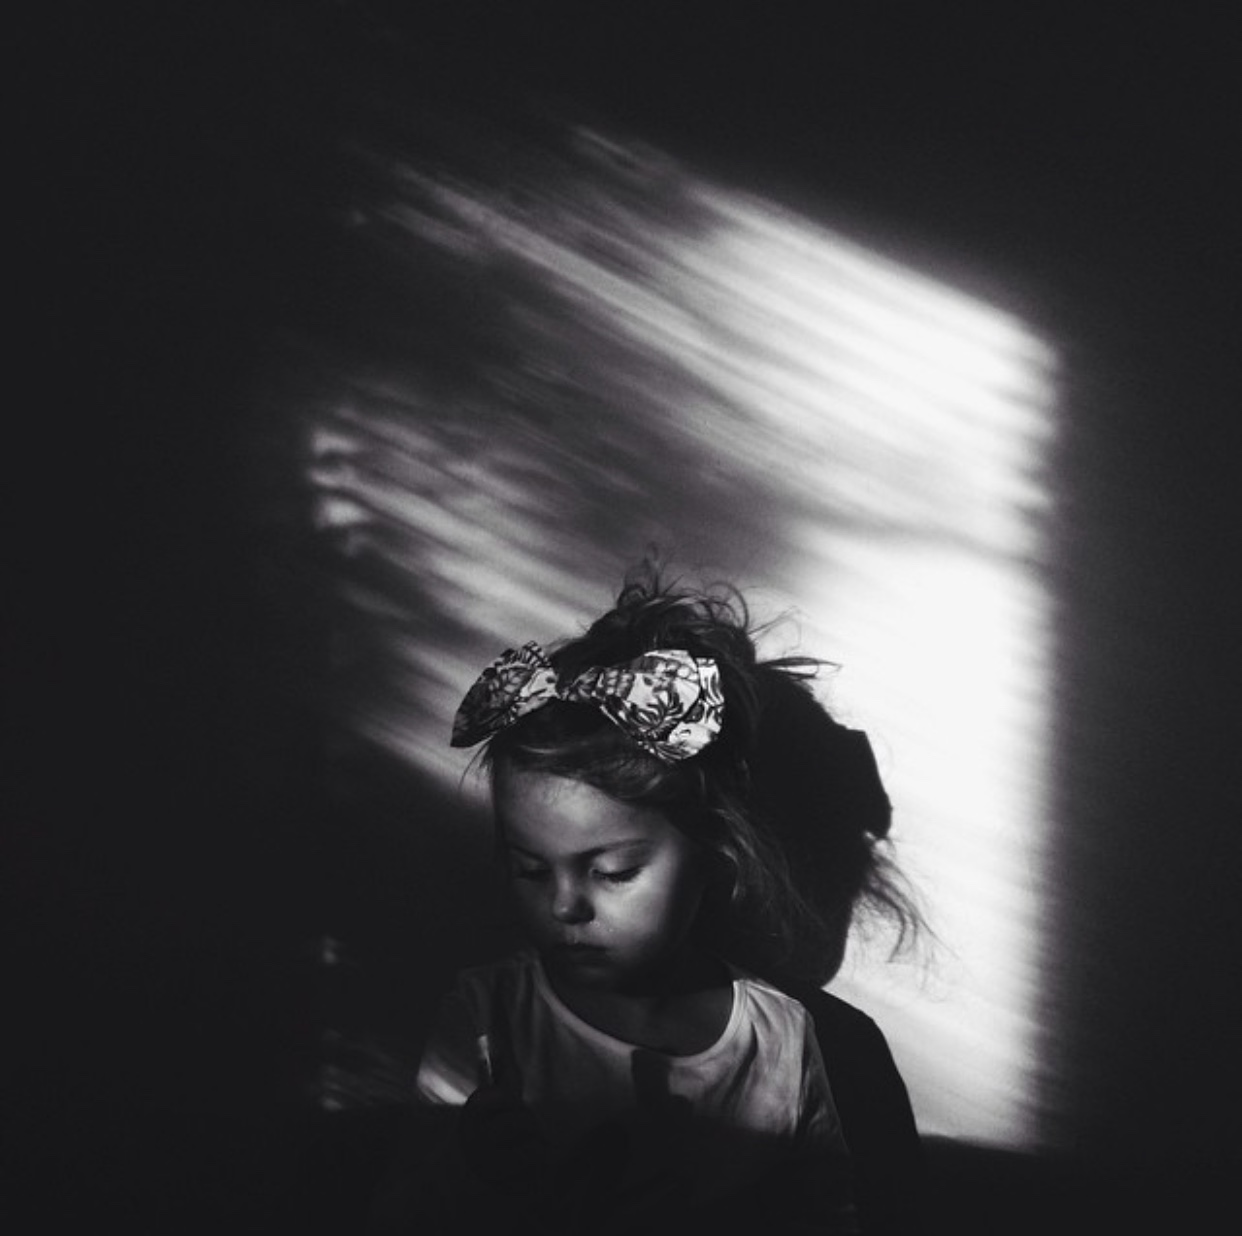
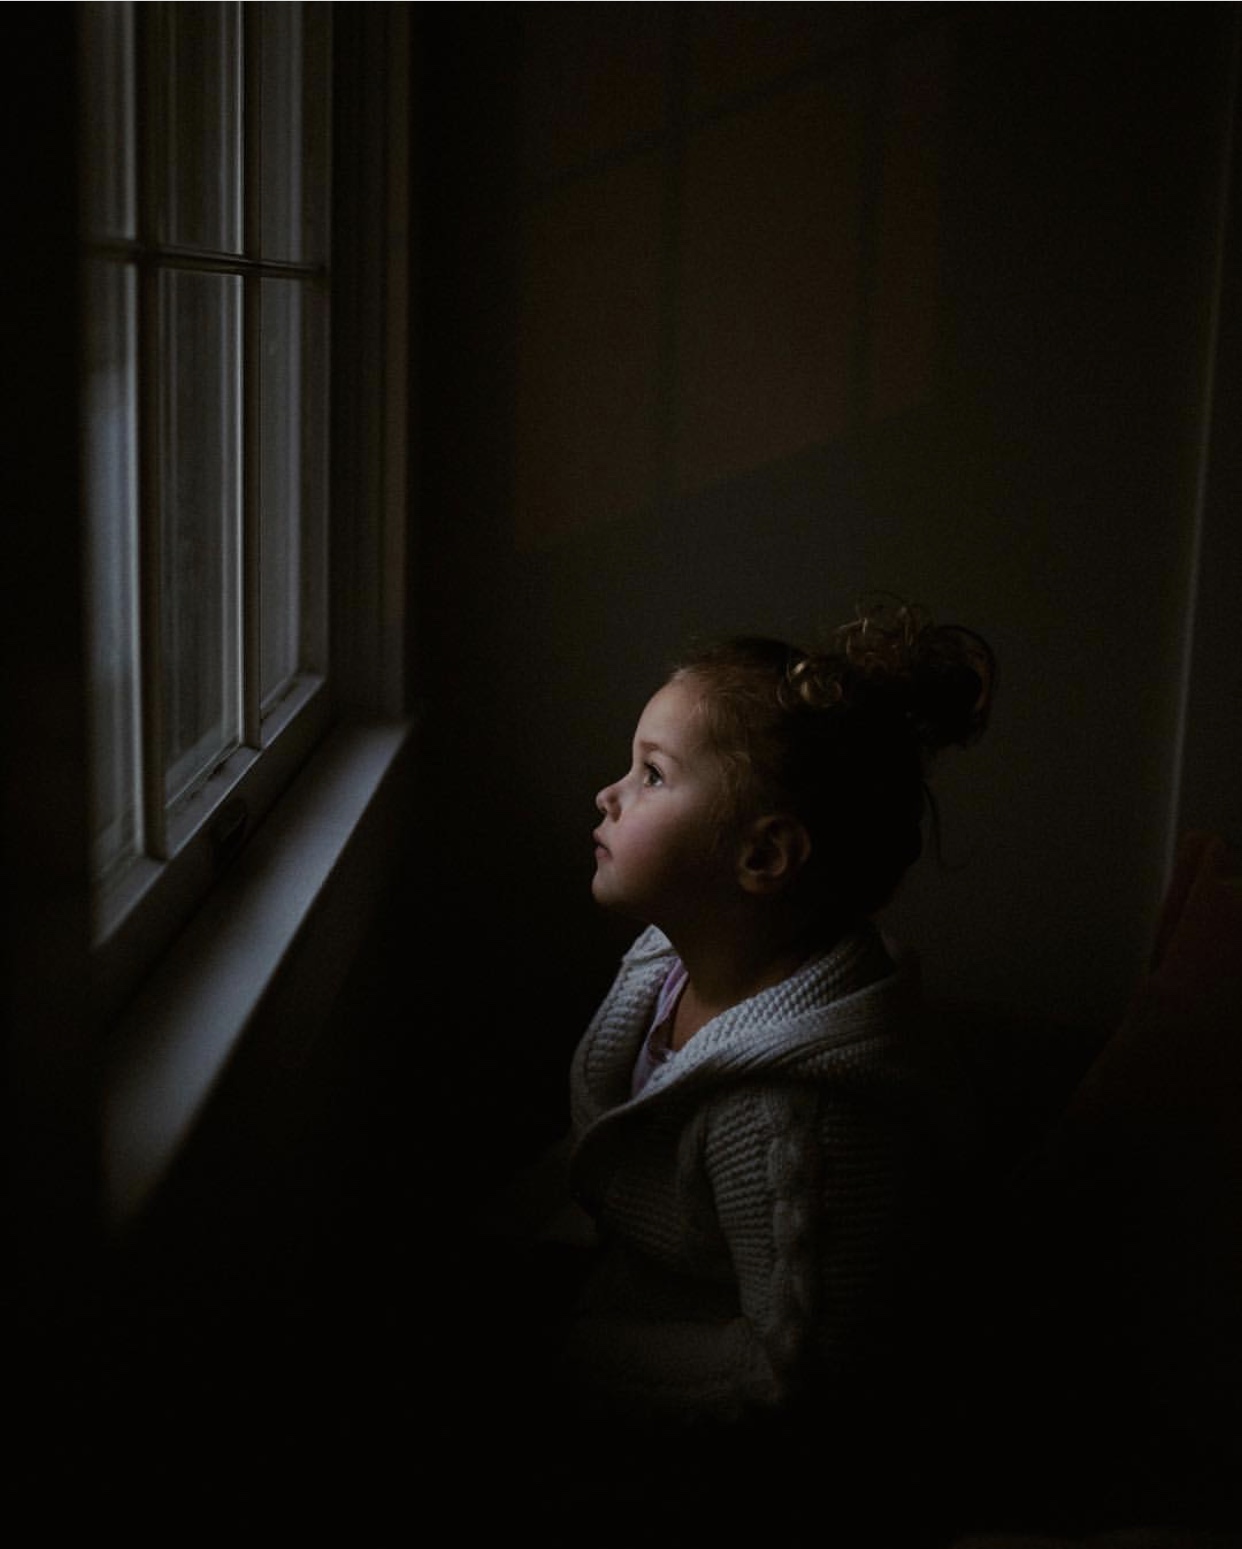
This is where the fun begins! Get creative in coming up with light sources. Just because the sun goes down and its dark out doesn’t mean you’re done telling your story! Use a candle, flashlight, cell phone, tv screen, iPad, glow sticks, I’ve done them all and it can create really fun, memorable photos! Remember to use your exposure slider to make sure you find the proper exposure! When using small light sources remember to turn your subject towards the light source.
-
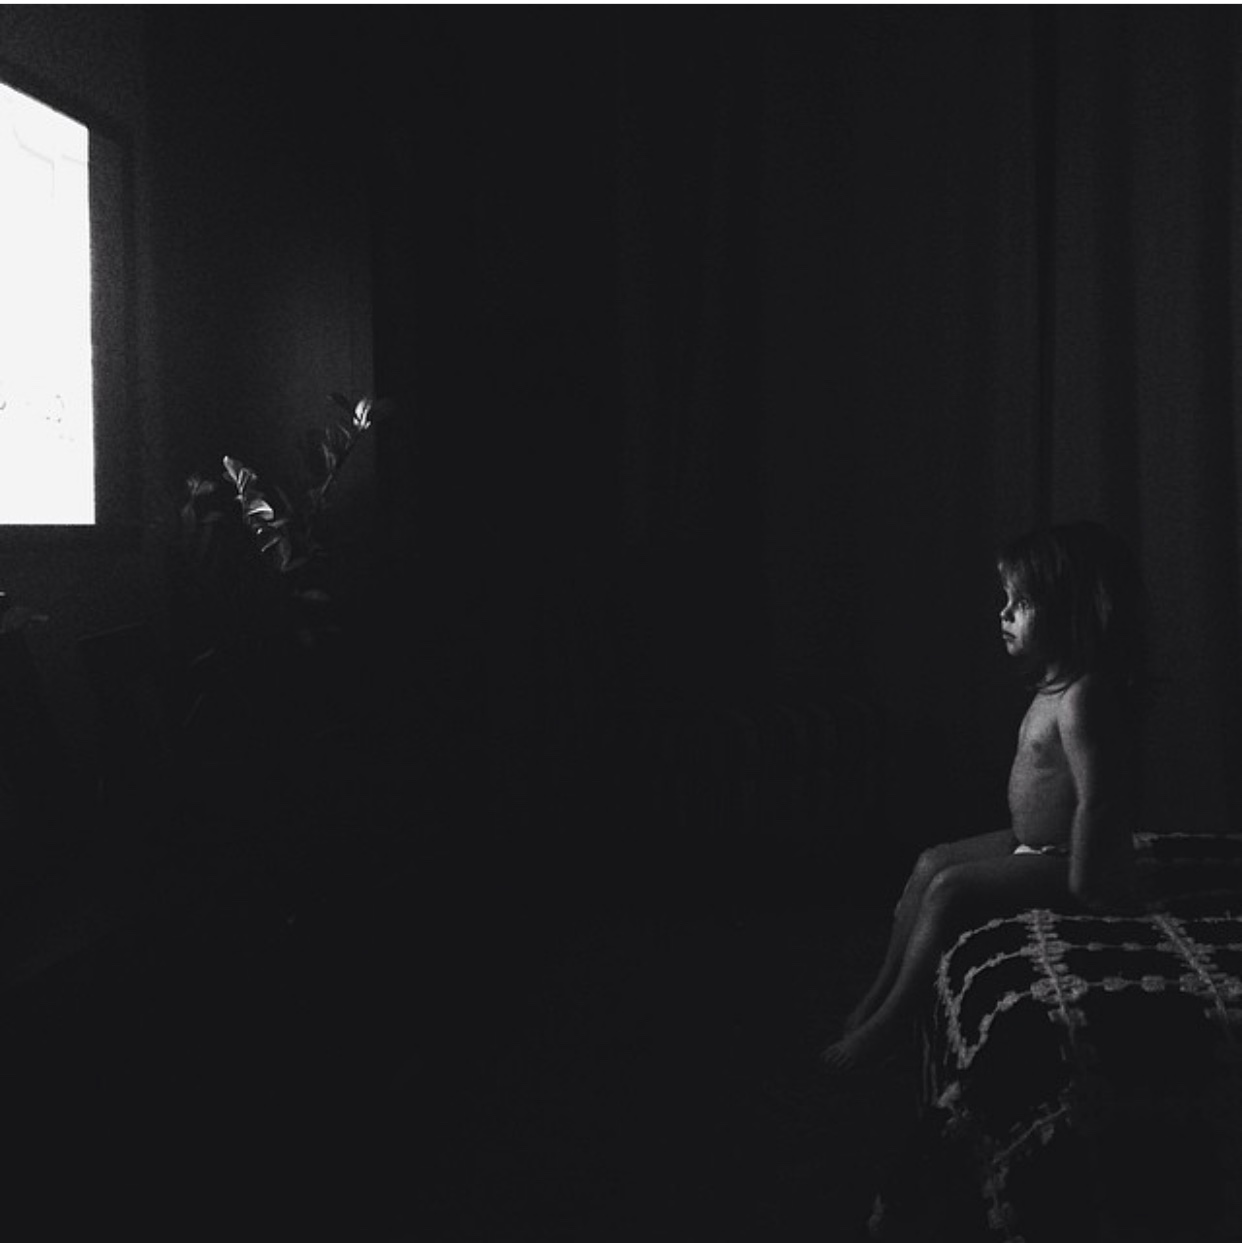
The glow of the television created wonderful light on her face and body in contrast to the dark room to the right of her. I adore this memory of little Gracie in our old townhouse.
More indoor tips that have nothing to do with lighting…
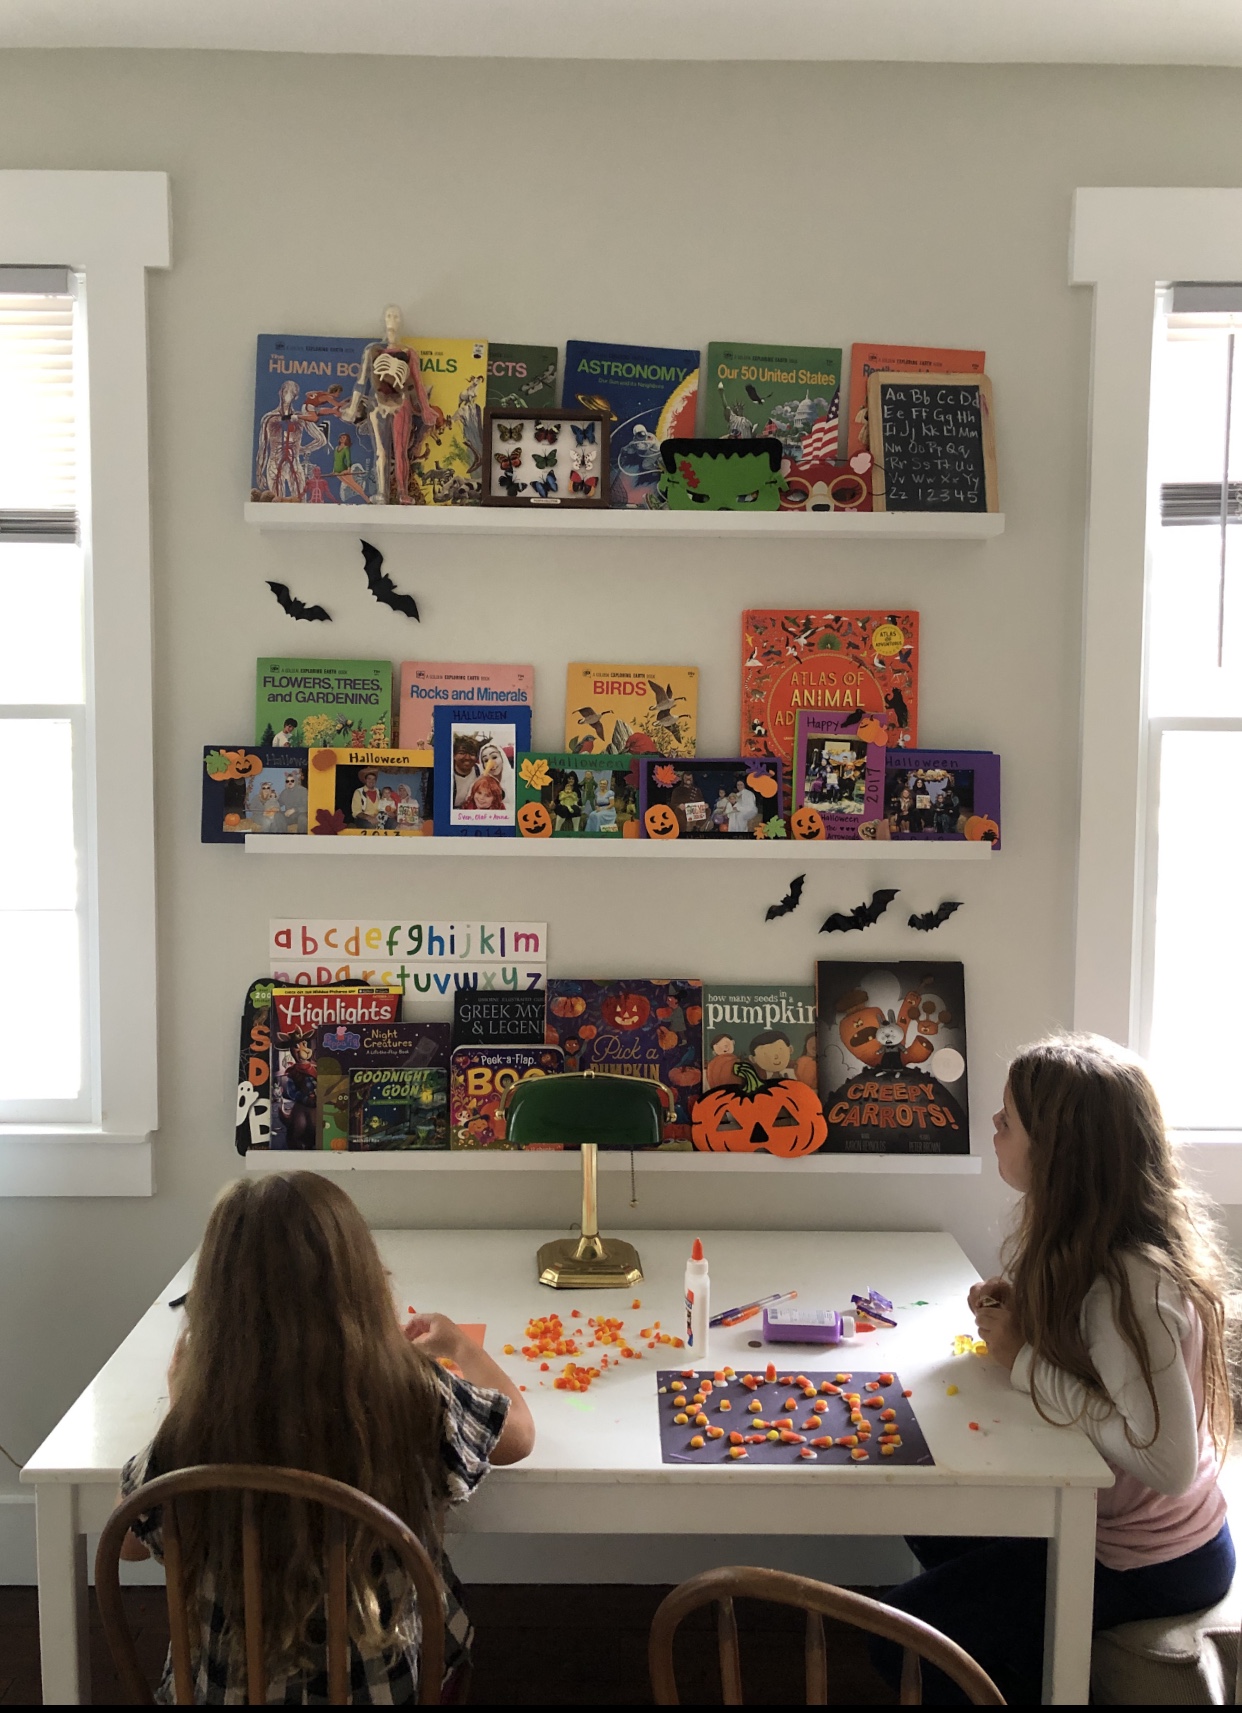
Composition indoors is everything.
Remember that you need to keep your composition in mind BIG time when shooting indoors. There’s sometimes SO much that can be going on inside a frame when shooting indoors, so take into account keeping your lines intentional, get yourself in the proper positioning and frame up your subject in a creative and intentional way. Don’t just start snapping. Think about it, PLAN your shot and execute.
Editing can add a lot…
…of pop that you don’t see now with the raw image. Shoot with the edits in mind (eventually). A lot of evening shots I do, I realize certain presets I’ve created will deepen the contrast and really make it a richer image. Even with some indoor shots I do, I know in the back of my mind, the presets I created will brighten and pop the lighting even more. I do shoot with edits in mind knowing what I want that final image to look like. We’ll be delving into editing soon! Presets can really make an image so much more than it is.
Do some planning.
I say do some planning, unless you’re shooting lifestyle and you want to capture things as they are. There is beauty is seeing the-real life, “this is how it was”. But I usually do a little tidy-up, push some things out of the frame type of deal. Be intentional on whats in your frame. Also, plan your images a bit. And by plan, I what I mean is, take the time to set up your shot. I do mini photo shoots of my girls, especially in their holiday jammies. I only use my iPhone and usually throw a blanket on the floor and have them lay down with pillows and snap away. Little planning and setting up always gets me images I’m obsessed with. Take the time to set up your shot, tidy up, set up, and get the images you’re hoping for. 

Your setting up might look totally different than mine. My sister for example, has a farm. Her set up might be getting her little boy dressed in a cute outfit in the morning that she loves and wants to remember him wearing at this age. While she’s feeding horses she might have him tag along down to the barn, and this time bring his little cowboy hat, which he normally wouldn’t do on an average day. Maybe she’ll have him pick a few eggs and stand in front of the red barn doors with his fresh chicken eggs, cowboy hat and cute outfit and do a little photo shoot with her cell phone. Planning a little bit ahead in the morning with his outfit choice, and adding in moments in your day, help you capture moments quickly, easily and enhance your images and gives them extra memories because you’re intentionally capturing things you want to remember! Which brings me to my next point…
Keep things simple.
Don’t stress out about telling your story. Start slow. Practice a lot. Keeping your compositions and set up simple sets you up for less frustrating moments. Don’t over think all the photography rules and all that.
Shoot what you love.
Tell your story and photograph all the things you’d enjoy looking back on years from now. It could be from the tiniest details to selfies. At the end of the day photograph your story and what you love. I know I’ve photographed all kinds of things that people wouldn’t normally care about, but for me as a Mom, it meant something to me and I’ve enjoyed seeing those images today.
RECAP
- Notice the lighting around you at different times of the day inside your home. Hard light, soft light…notice it all and take note where your favorite spots are in the house.
- Turn off all artificial light if its not an artistic choice. Just do it. Unless you plan to edit it so it’s not a contrasting color of light, just turn them off.
- Control your natural light. This could be physically controlling it with diffusers.
- Create your own light with candles, iPads, cell phones, flash lights…get creative!
- Don’t forget to focus on proper composition!!!
- Remember, editing can REALLY enhance a photo–we’ll get into that more very soon!
- Plan your sessions to take better images and get that light you’ve been scouting!
- Keep things simple and shoot what you love!
Homework
This week I want you to focus on studying the ever changing light in your home! Post an image or a few practicing one of each example with explanations. I want to hear your thoughts!
- Window light
- Created light
- Planned Shoot- Meaning you thought it though, scouted the light in your house, set it up by thinking through composition, exposure…etc. Or if you’re photographing people, explain how you set them up!
Even better, practice on someone or something that you LOVE!
Remember to post homework to our Facebook group page or email me! Can’t WAIT to see the amazing images pour in!
As always, thanks for being here!