Your cart is currently empty!
Lesson Four: Composition Part 2

Hey friends! I’m so glad you’ve made it this far in our lessons! Today we are going to be continuing our focus on composition and chat about lines, leading lines, balance and symmetry! That’s a lot to cover in one topic, so let’s jump right in!
Lines and Leading Lines
Over the years I’ve had a lot of people compliment me on how my images look. Have you ever seen someones images and they just look so nice but you can’t put your finger on it? Well, this rule is one of those rules, you don’t notice, but it makes a big impact. Noticing lines is one thing that I’ve become more and more of a stickler for over the years shooting in both professional and personal work. Paying attention to the lines within the frame makes a huge difference in mediocre and good composition. I’ve come to really pay attention to the lines in my photographs more so, because well, simply put, unintentional crooked or diagonal lines bother the heck out of me. HA!
What do I mean by lines you ask?
well, let me explain a bit. There are lines in LOTS of photographs that you might not even really pay attention to. Lines from rooftops, horizon lines, buildings, roads, trees, the edges of table tops, tv’s, carpets…..
anything that creates a line in the photograph needs to be paid attention to.
For me personally I like to get my lines as straight as possible and I try and achieve this in my composition BEFORE I actually take the photograph. YES, you CAN adjust somewhat in editing, BUT…you want to avoid cropping your image in post (“post” is a new word for post-processing aka editing) and get the composition right while you’re taking the photo. Let’s look at some examples. See if you can see the prominent line that I kept exactly straight either horizontally or vertically.

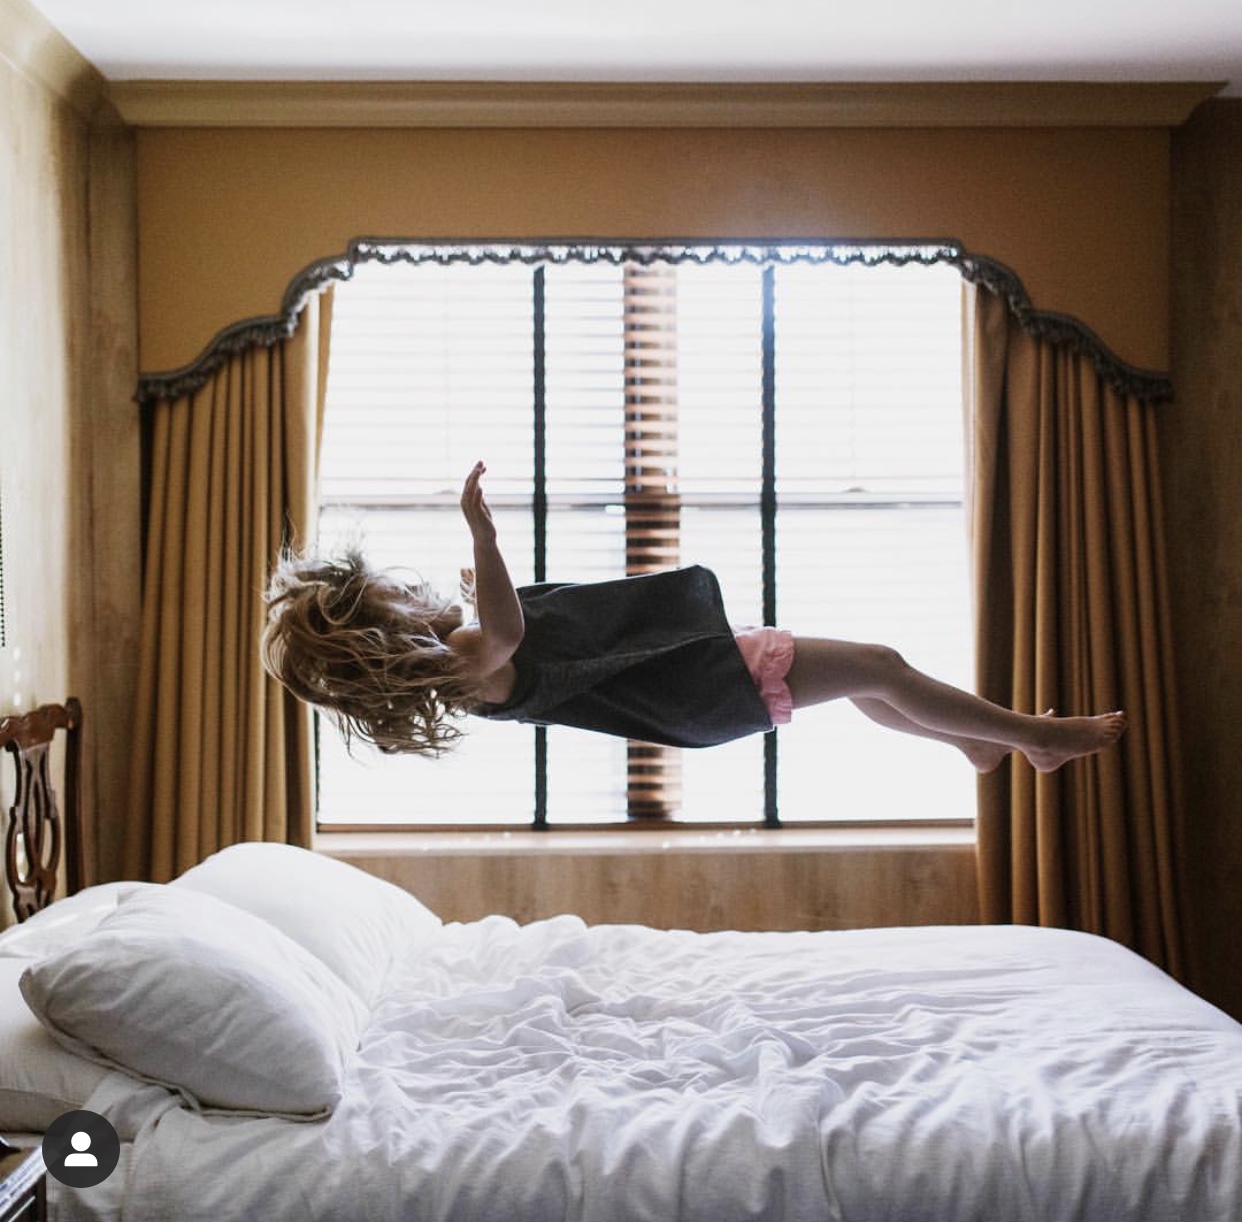


 I focused on the bed. Notice the top of the window and molding isn’t perfect but close enough
 Notice the line of the edge of the pool is straight. This is also an example of framing!
Now, let’s look at an example of sloppy lines:


Time to get it straight!
Most of the time I notice when a great opportunity comes, people just whip out their phones and don’t even think about their own positioning in relation to what they are about to photograph. I understand moments happen quickly and you don’t want to miss them, BUT most of the time there IS time for you to reposition yourself AND get the great shot you were hoping for.
When it comes to getting your lines straight, first reposition yourself.
Most of the time when diagonal lines happen in your shot its because you’re standing at an angle to what you’re photographing. Even the slightest angle can cause lines to get wonky. For the last photo of the kids in their costumes, if I had stepped to the left, got the lines straight in my frame, then everyone would have turned a head towards me and my lines would have been nice and straight. For a group shot like that, I didn’t care much, just wanted to get a group shot, but for other images with glaring lines, for a stronger image you want to pay attention to those lines.
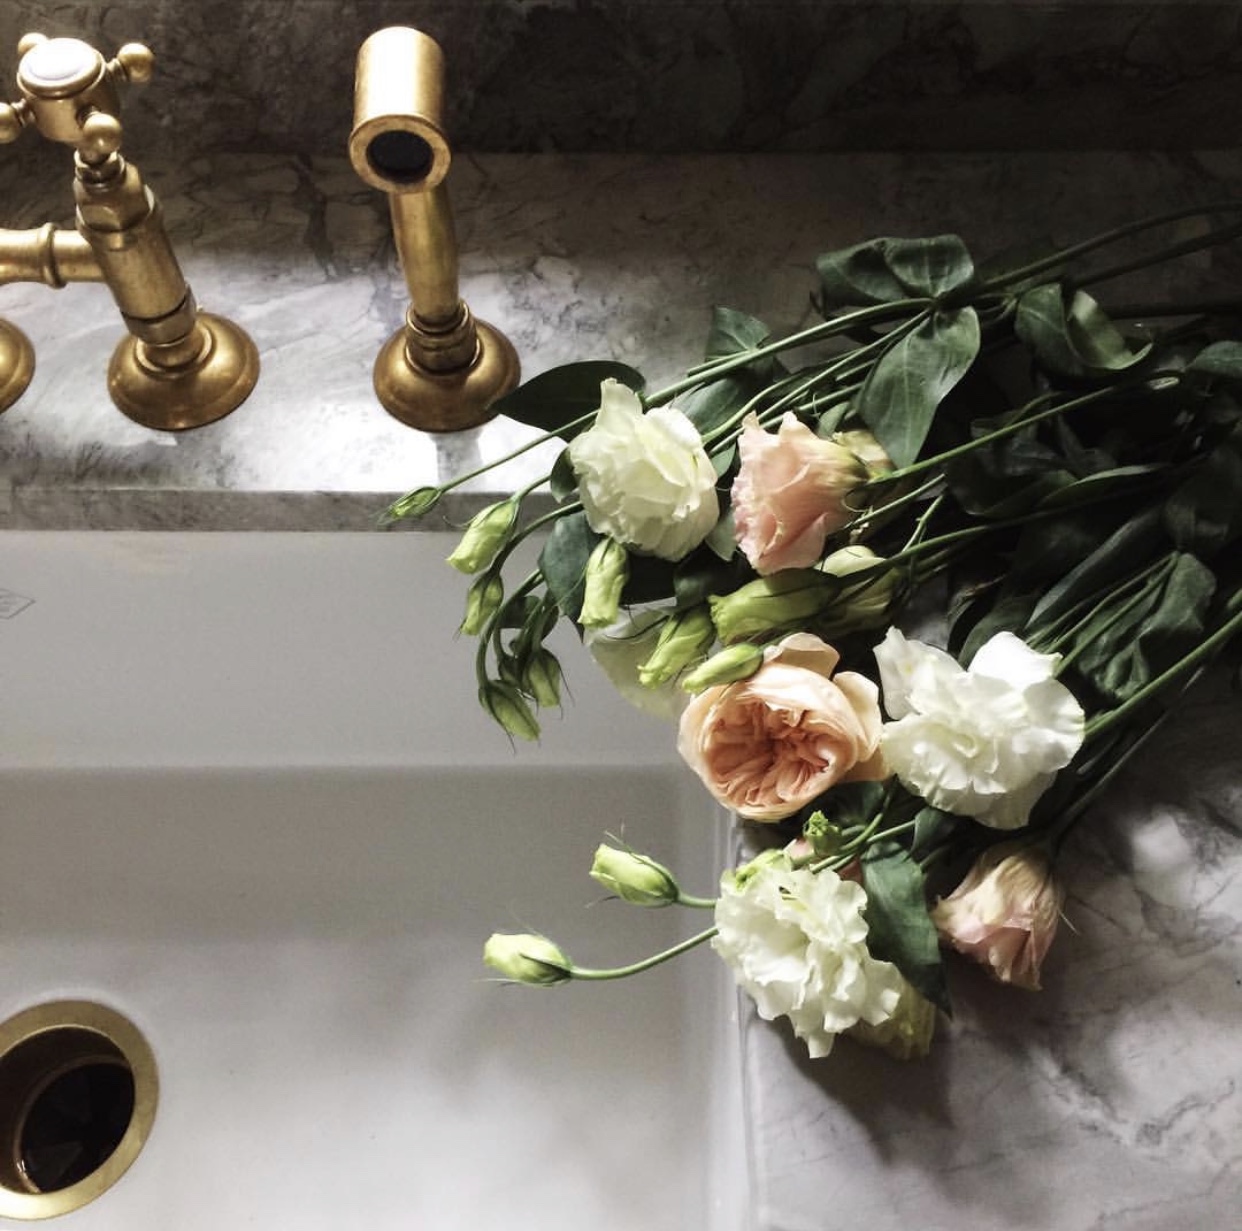
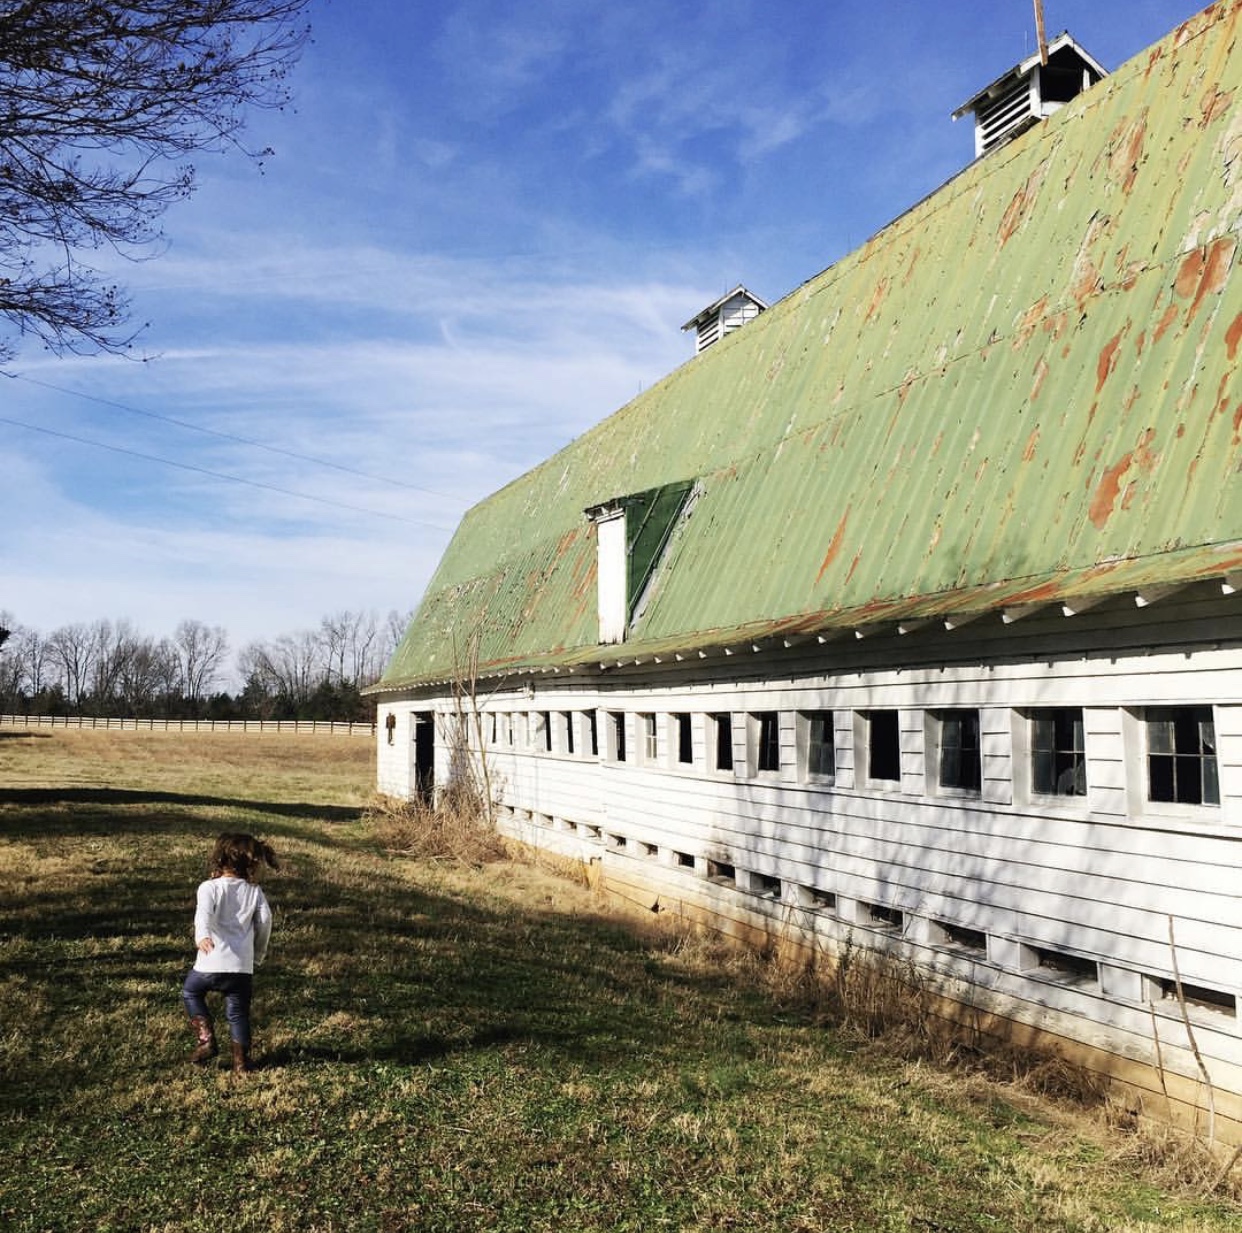
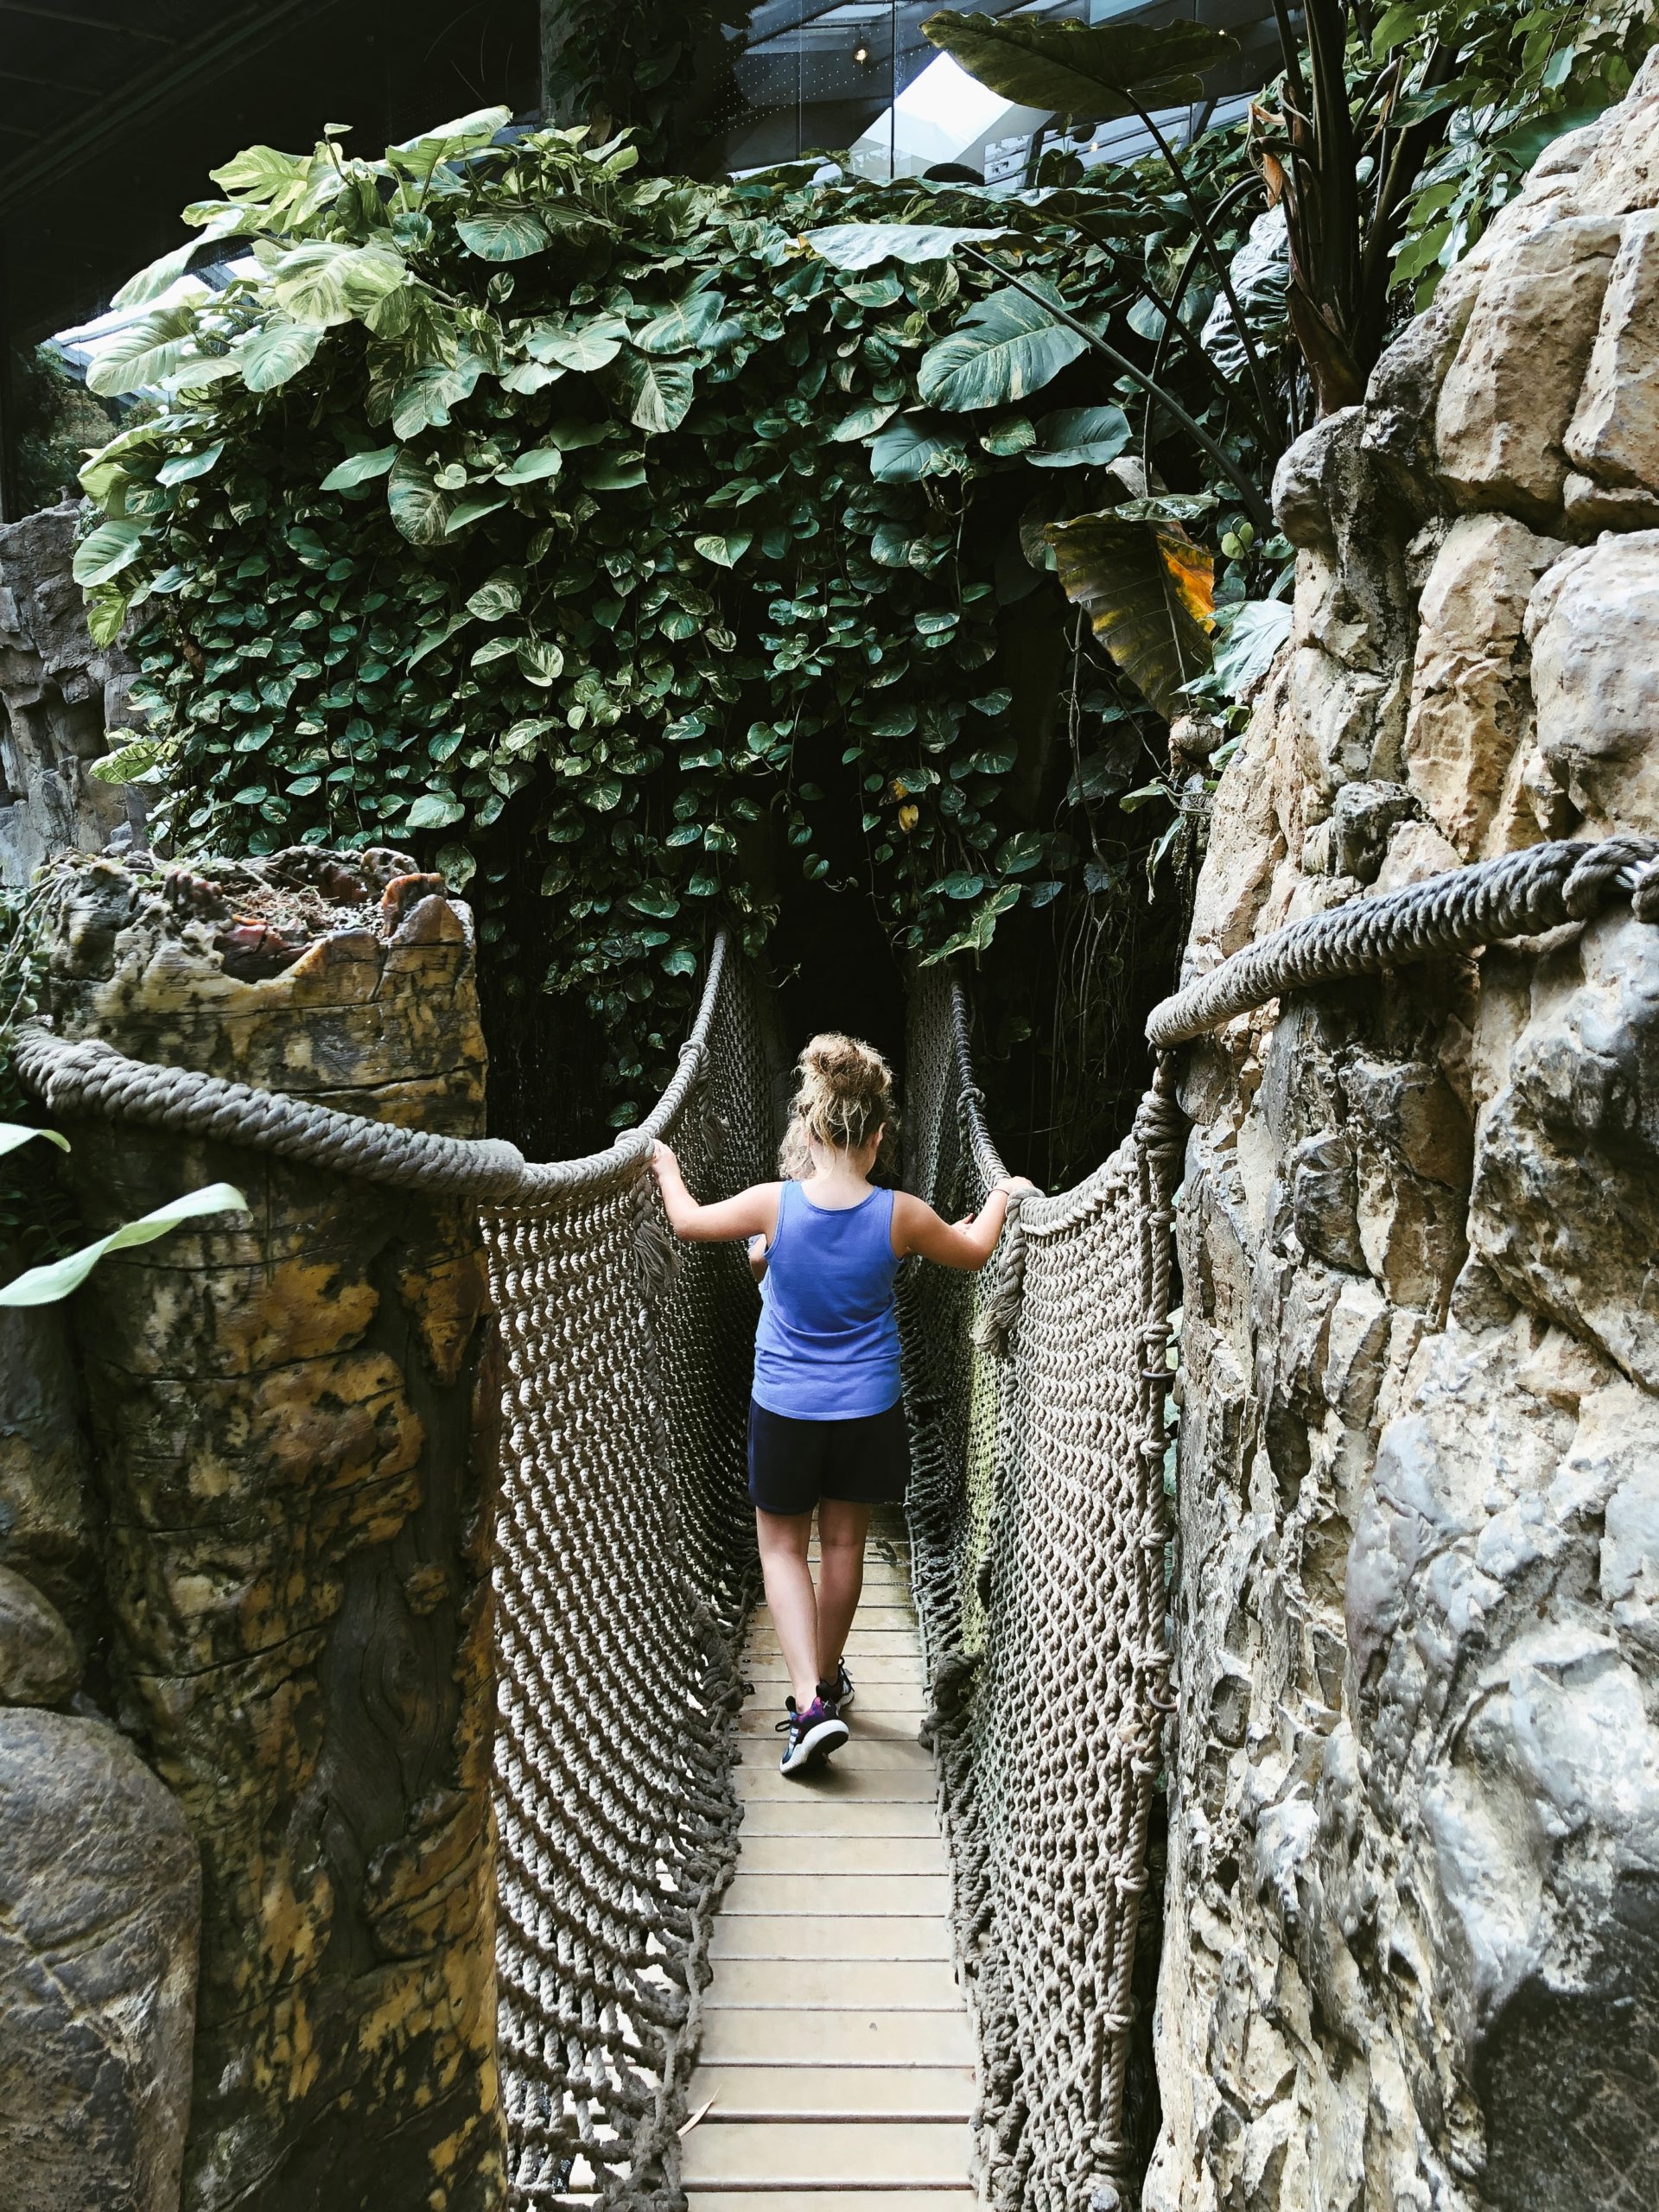
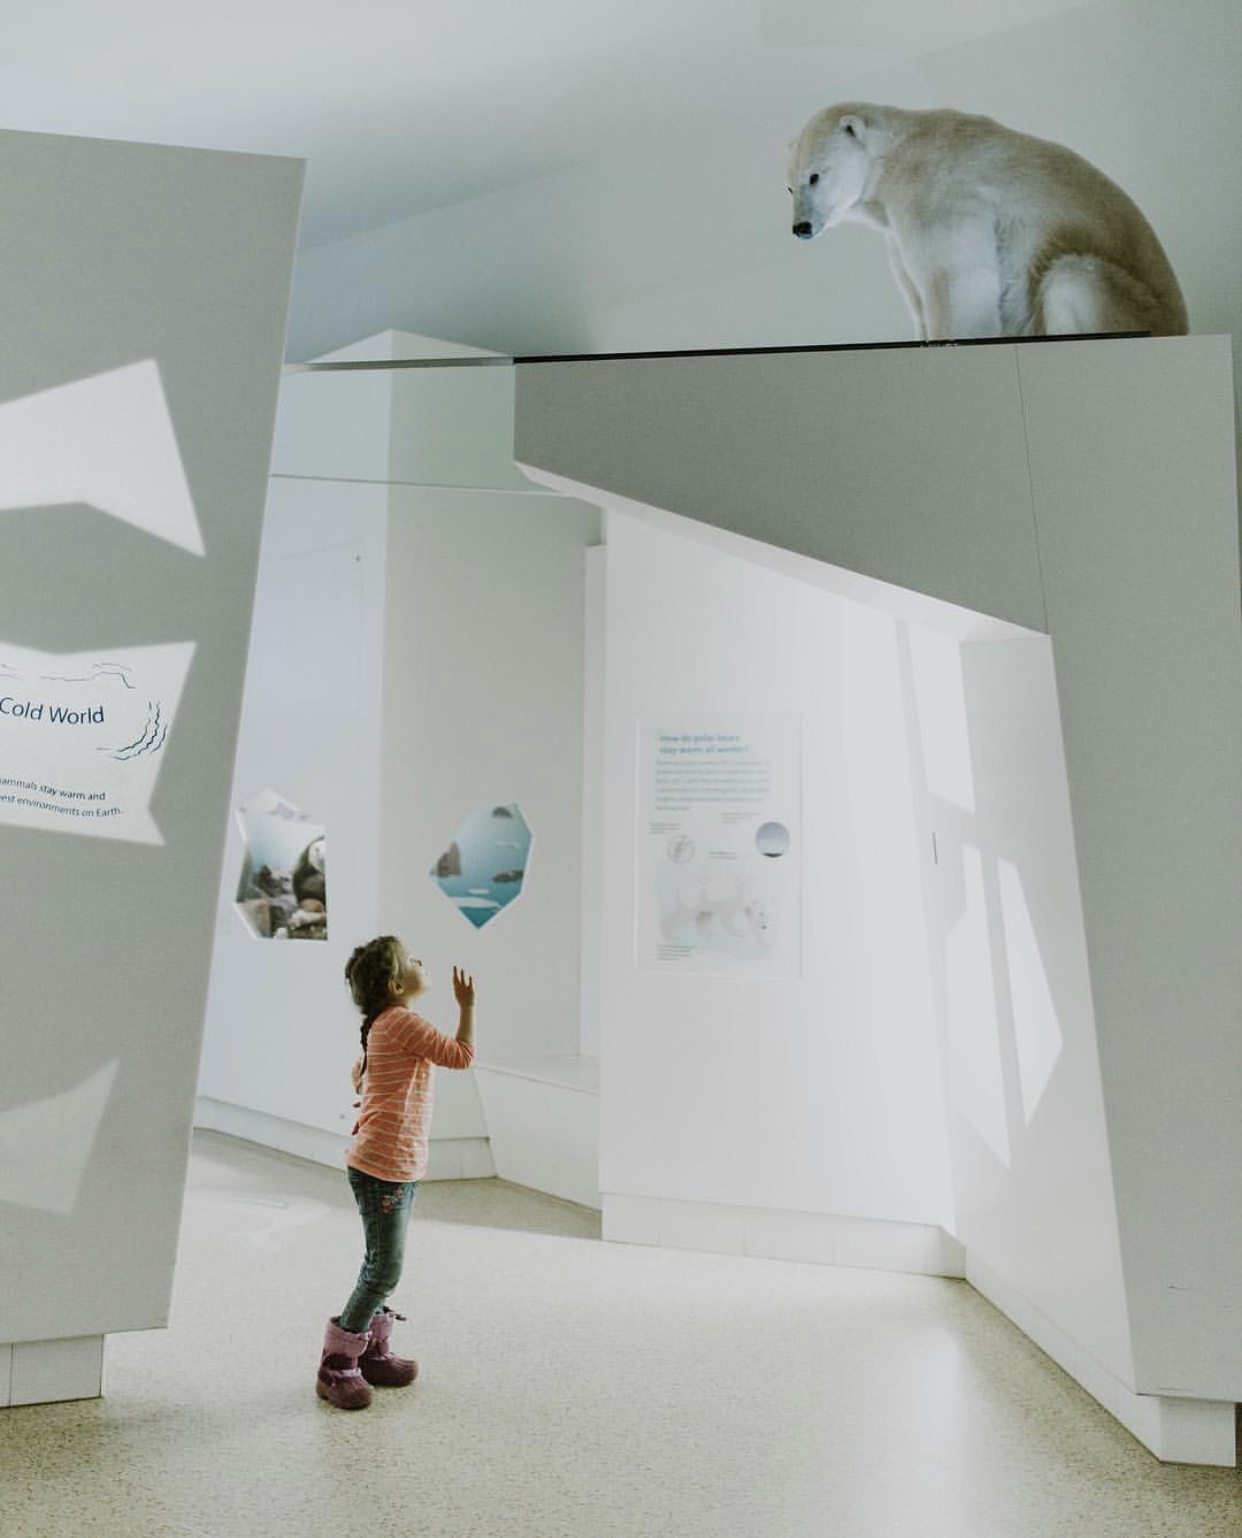
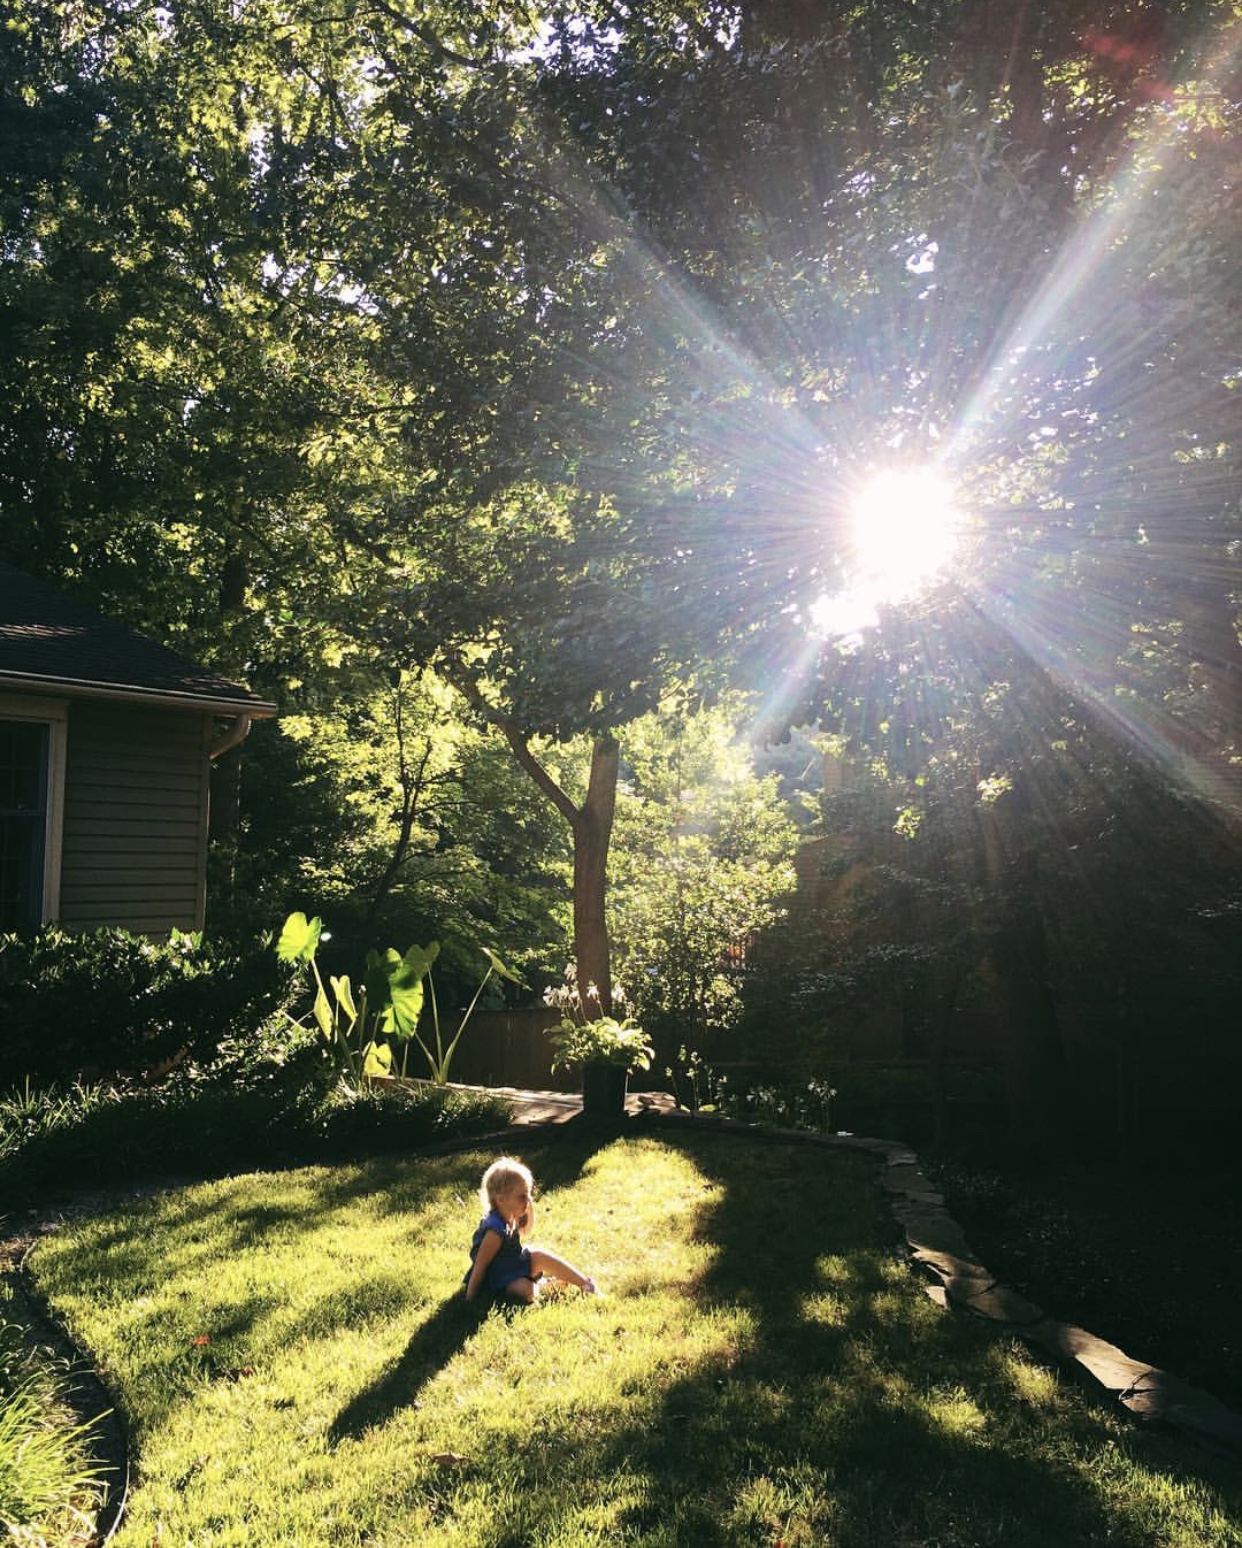
Leading lines
Not all lines need to be perfectly straight. I actually don’t mind diagonal lines when they are intentional. Leading lines are simply lines within an image that lead your eye through the photograph. These type of images show movement within the image and draw your eye from one area to the next. (These are not all iPhone images)


Balance
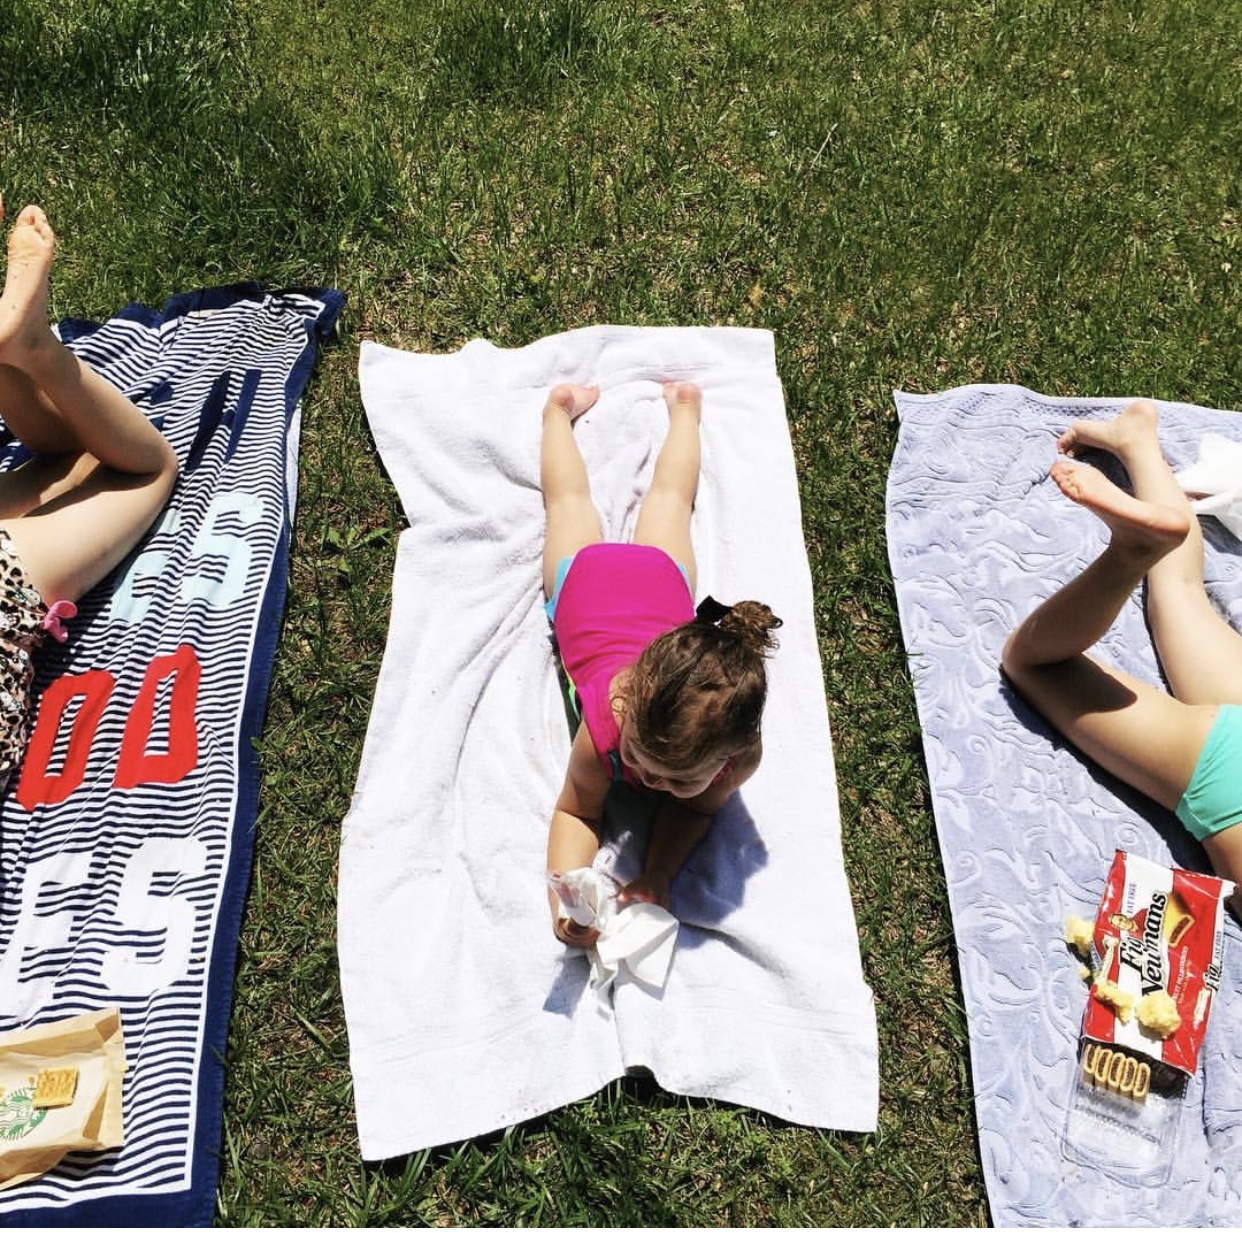
When taking photographs, another rule to play around with is balance. There are many types of balance in photography, but today we’re talking about symmetrical and asymmetrical symmetry in photography.
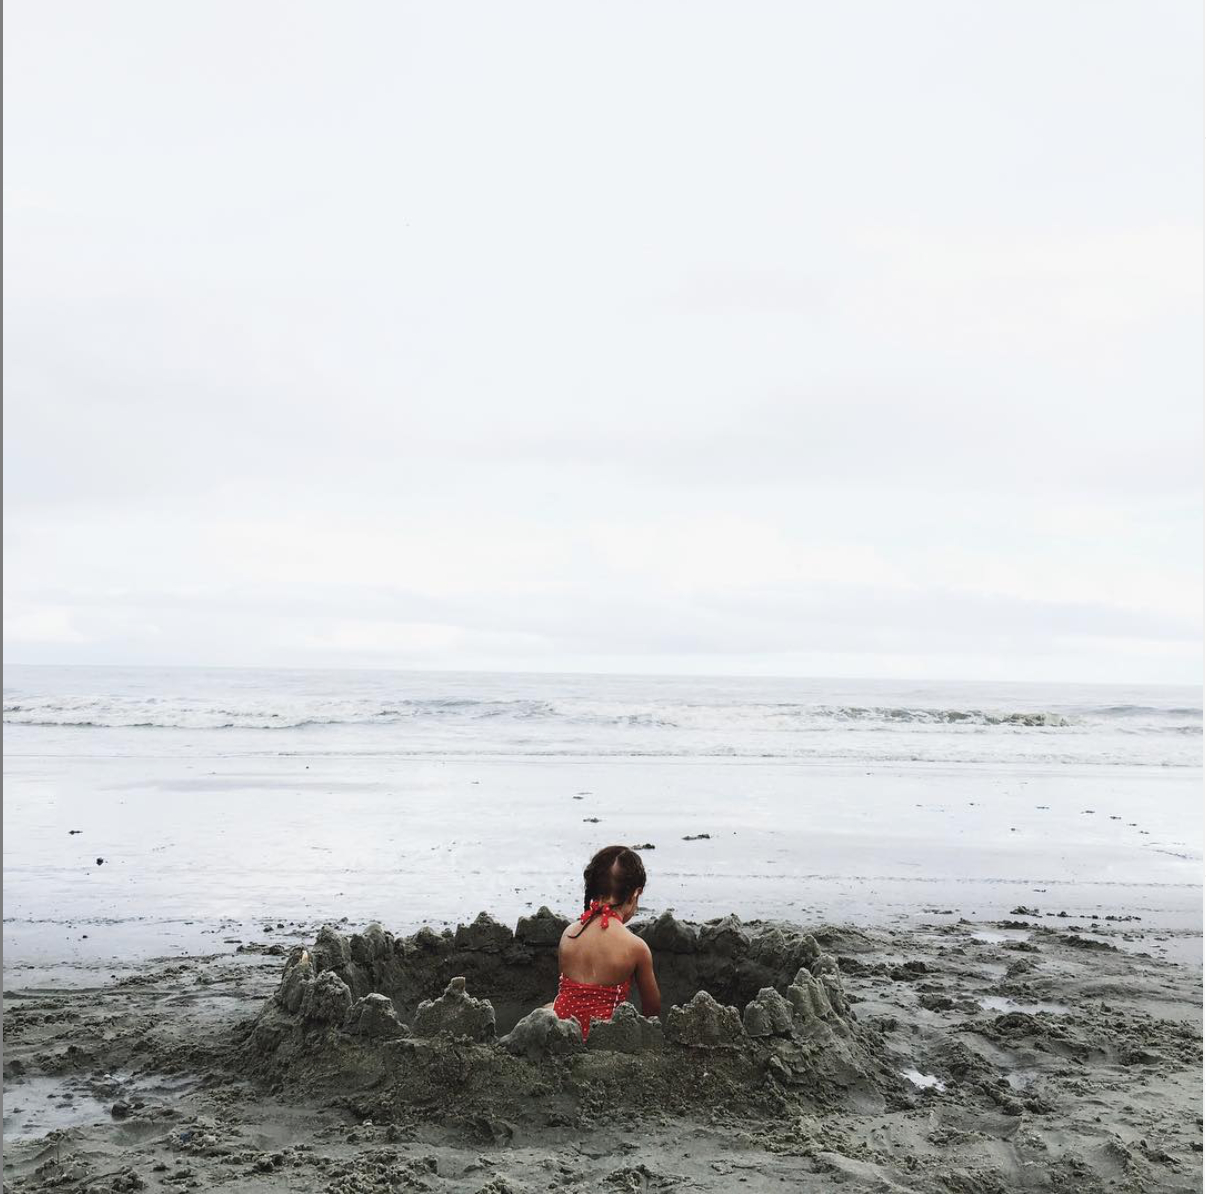
Symmetry is the invisible line that splits the image right across or down the center of a photo making it symmetrically balanced or the same on both sides of the division line.
In photography this is the most obvious form of balance and almost everyone can see the glaring balance that the photo has. Symmetrical balance, also known as formal balance, allows you, the viewer, to look at all points of the image equally because it holds equal visual weight on either side of the division point (the division point is an imaginary line drawn down or across the center of the photograph. This visual balance gives the viewer a sense of stability and formality.
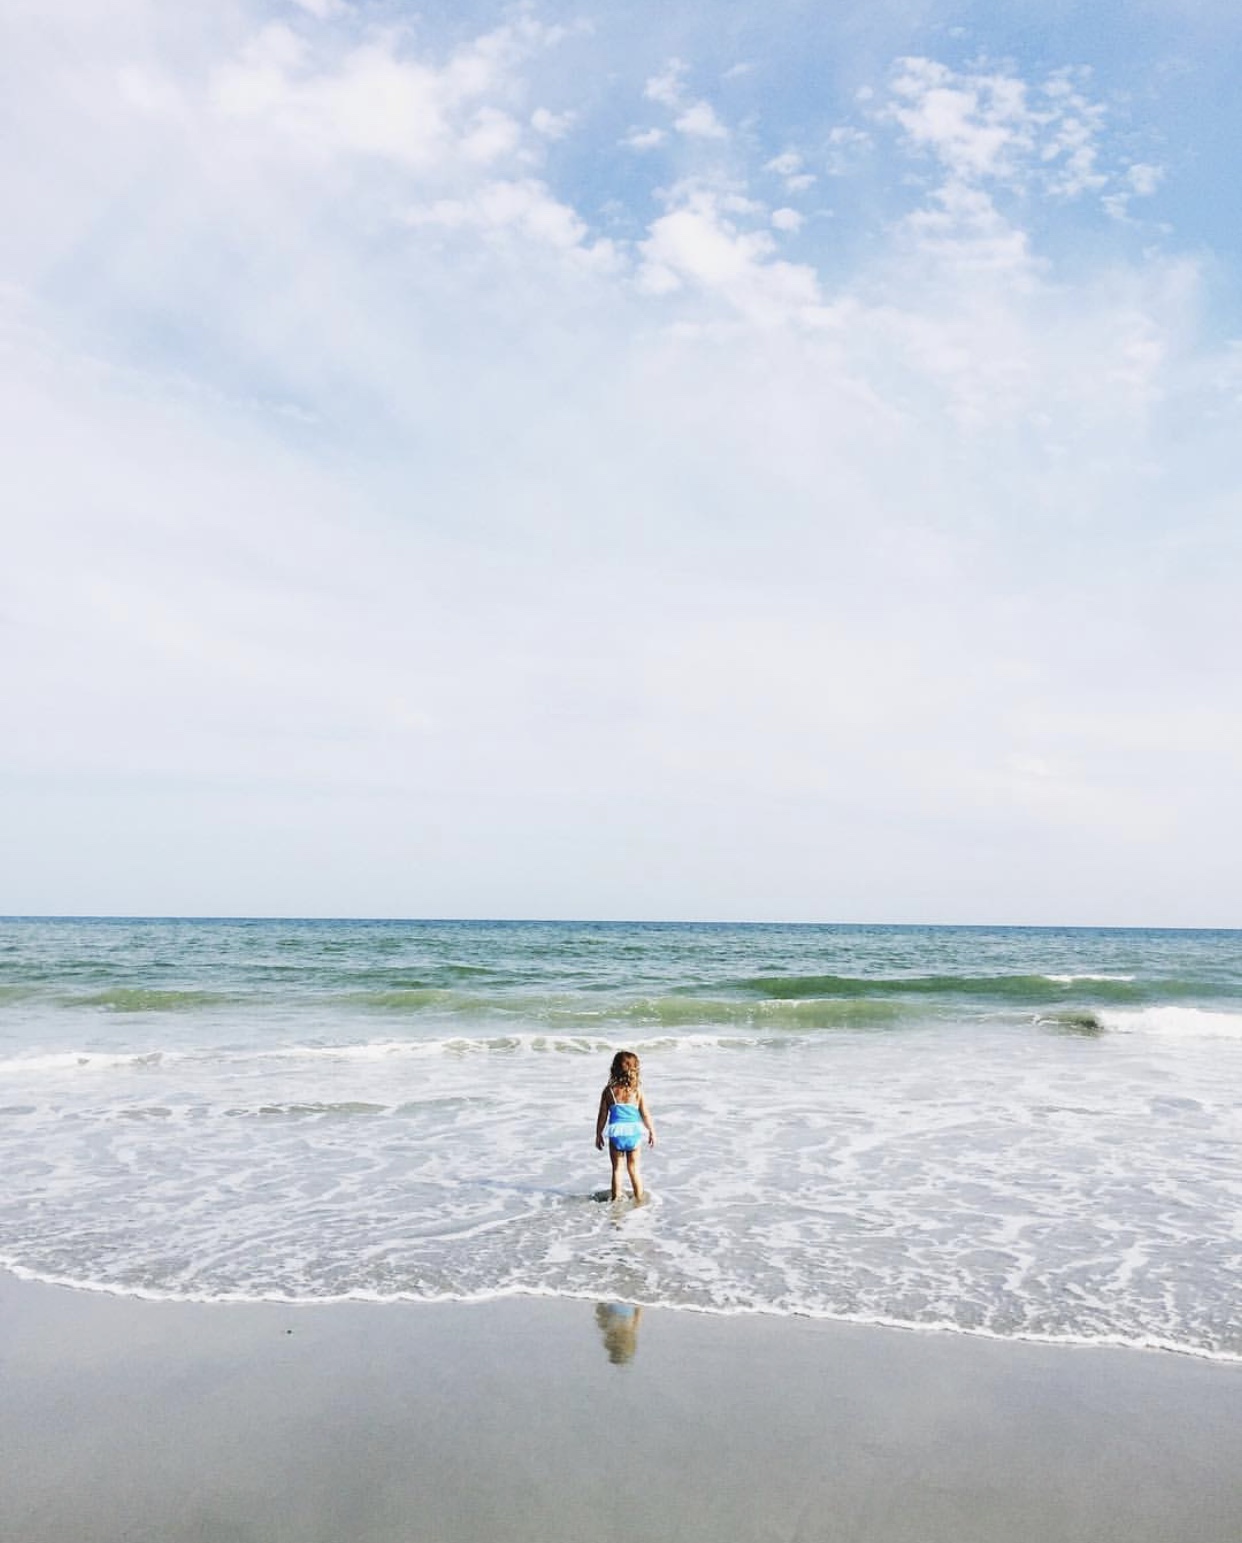 Cutting this photograph in half you create simple symmetry.
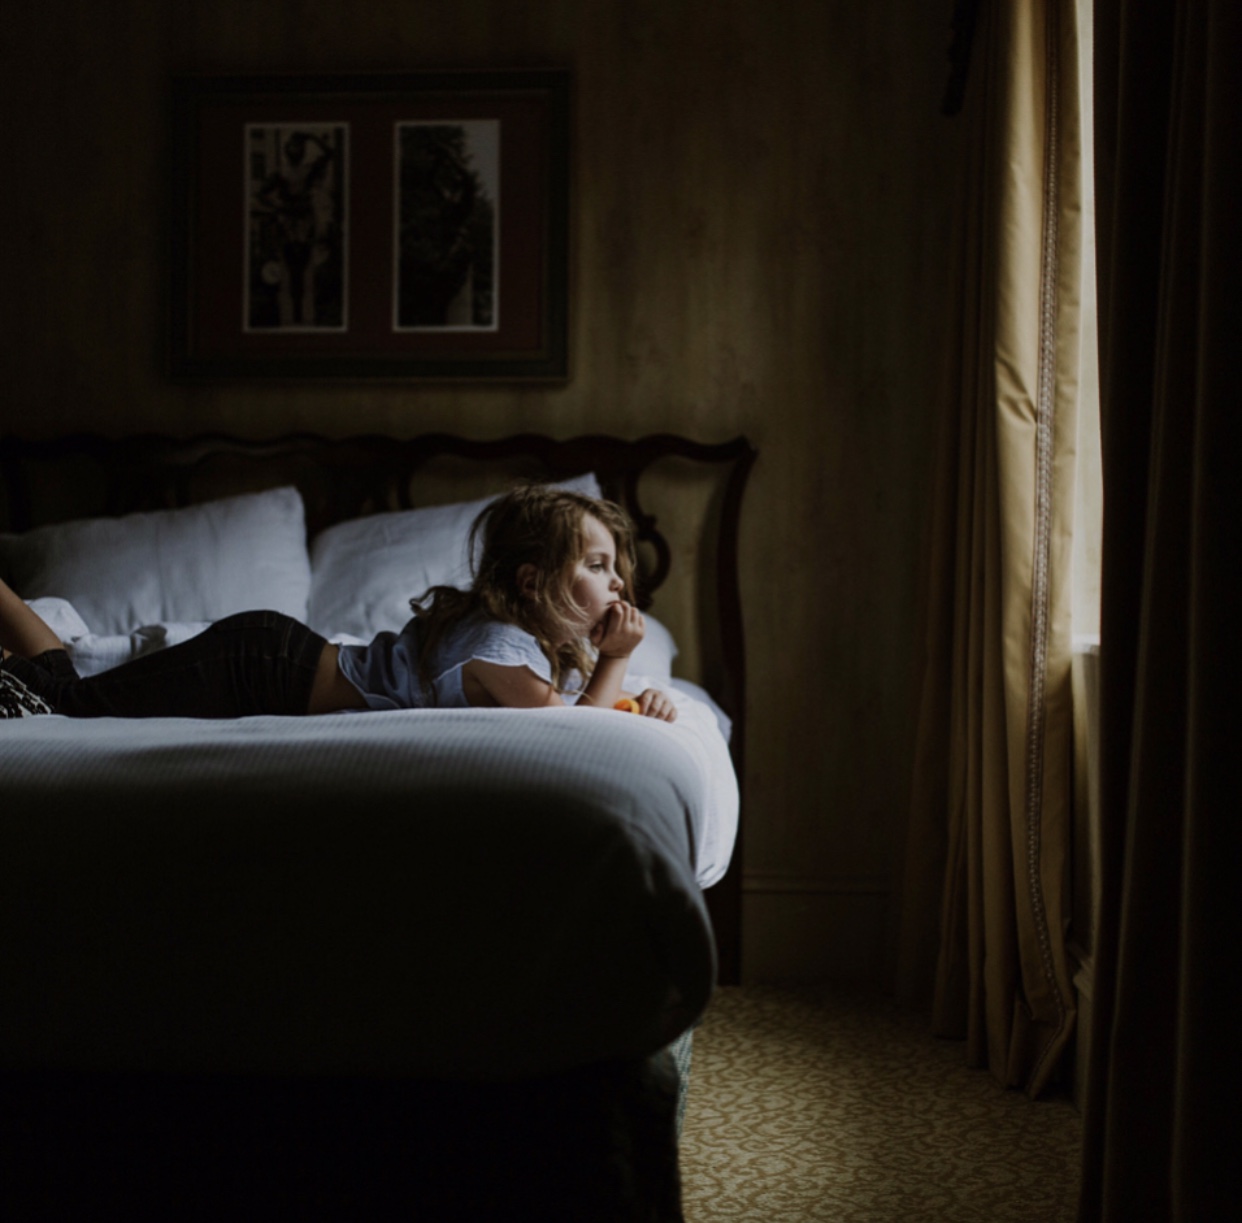
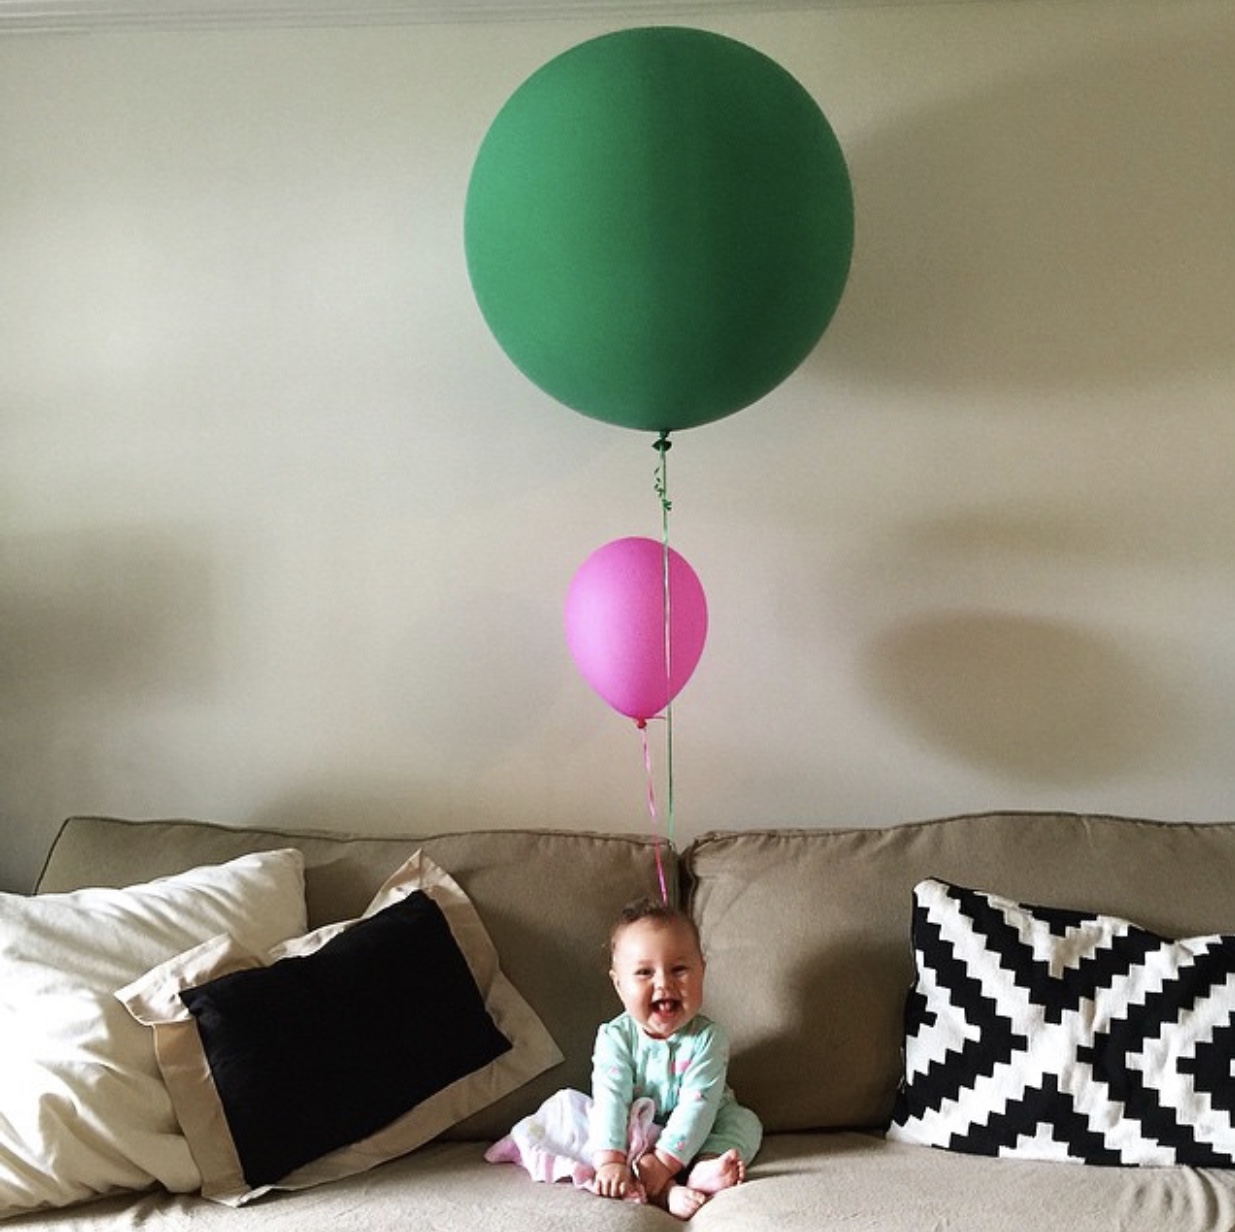 Can you spot the balance here? If you cut it in half vertically it could almost be symmetrical balance. If you cut it in half horizontally it becomes asymmetrical balance.
Assymetrical balance is when there is two different visual images on either side of that imaginary division line, but yet the image as a whole seems to be balanced.


Asymmetrical VS. Symmetrical
Asymmetrical balance is when you have two sides that are not the same and have unequal visual weight on either side of the division line, but yet still achieved a sense of balance in the photo as a whole.
Symmetrical balance is when you matching sides with equal weight on either side of the centered division line.
RECAP:
In todays lesson we chatted about:
Lines: Keep those lines straight unless you’re intentionally creating diagonal lines with purpose.
Leading lines: Be creative with those lines you observe and use them to create movement within your photographs leading the viewers eye through the image.
Balance comes in many forms but we discussed two forms…
Symmetrical balance – also known as formal balance; symmetrical balance is when you cut the photograph in half you have two matching sides with matching visual weight.
Asymmetrical balance- lends itself to modern aesthetics; when you cut the photograph in half and you have different/unmatched sides and unequal visual weight but still achieves balance.
Homework:
- We’ll keep it really easy this week! I want you to post one photograph of each topic we’ve covered:
- Lines- show me some straight lines…reposition yourself, usually getting square in front of your subject to get the straightest of lines
- Leading lines- Show me some creativity and draw my eyes through and around your image
- Symmetry- lets see some matching sides!
- Asymmetry- Lets see the balance that comes with those un-matching sides!
Remember to post your homework to our Facebook page, and if you’re not on Facebook, feel free to email me your images. And remember to use the hashtag #kelseysiphoneclass and tag me @kelseyarrowood.
As always, thanks for being here and growing together!